

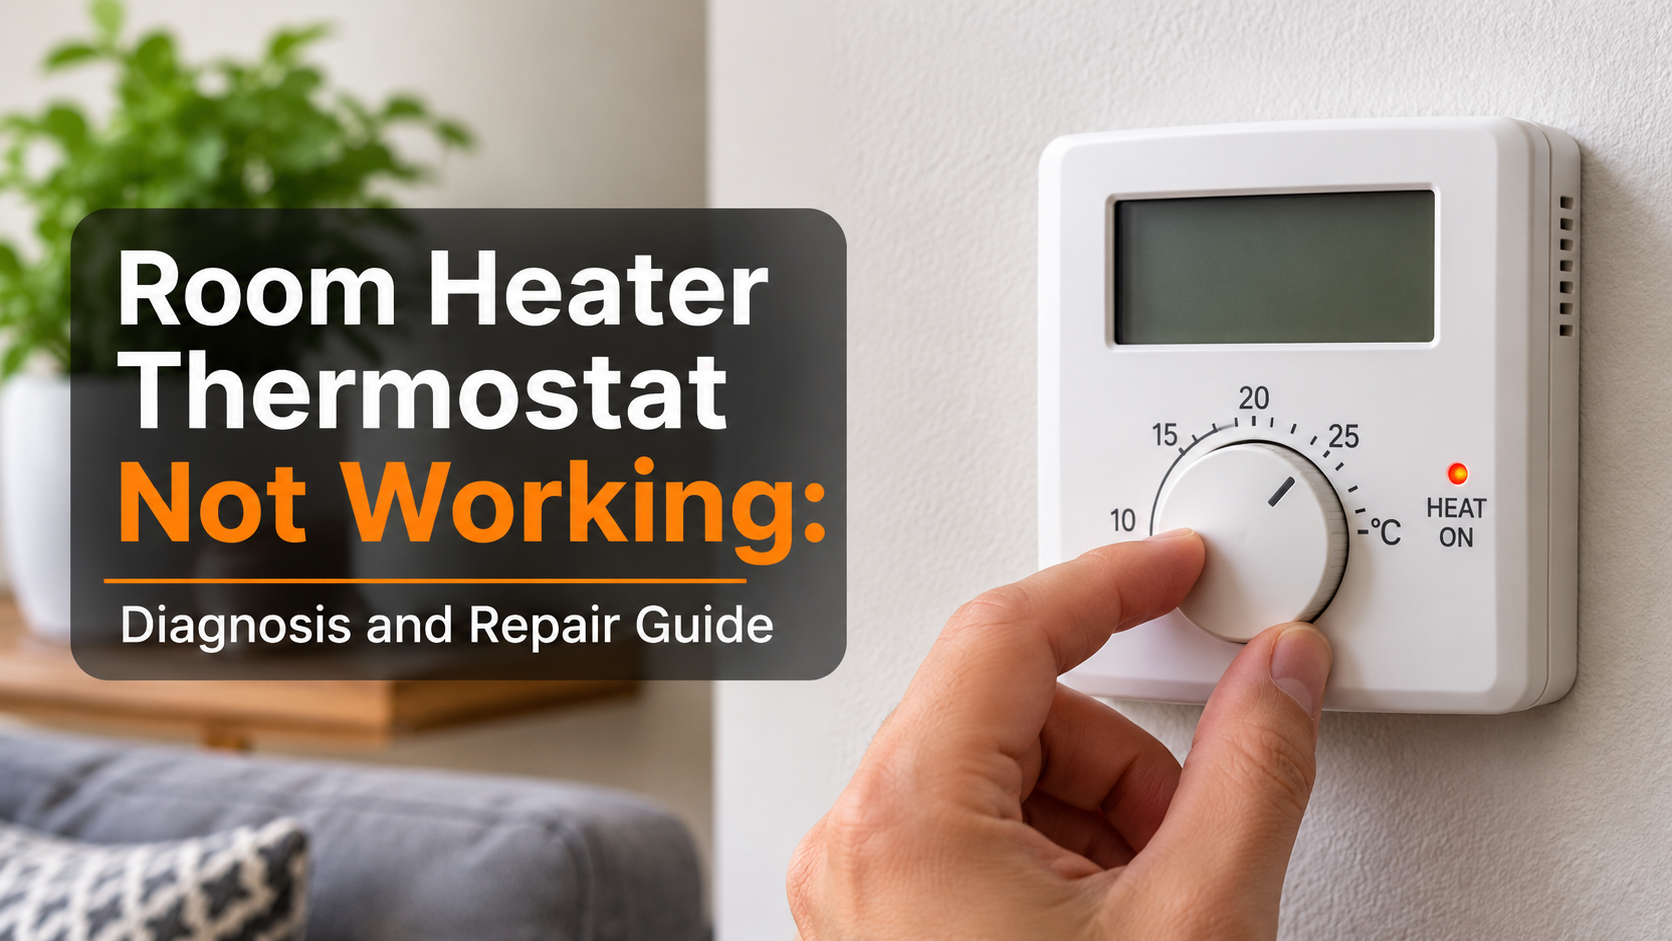
Room Heater Thermostat Not Working? Causes, Safe Checks and Fixes
Few things are more frustrating than a cold room and a heater that simply refuses to behave. You turn the dial and nothing changes. The heater runs nonstop and the room turns stuffy. Or it clicks off after a few minutes and never restarts. In a large share of these cases the real culprit is the thermostat, the small control part that tells the heater when to heat and when to rest.
This guide explains what a room heater thermostat does, how to recognize when it has failed, the most common causes, and the safe checks you can carry out at home. It also covers when repair no longer makes sense and what to look for in a replacement heater.
Quick answer
If your room heater thermostat is not working, first check the power supply, reset the heater by unplugging it for 15 minutes, set the dial well above room temperature, clean dust from the vents and sensor area, and make sure the heater is standing level. If the problem continues, the thermostat itself is probably faulty and the unit needs professional repair or replacement.
What a Room Heater Thermostat Actually Does
A thermostat is a temperature-controlled switch. It measures the air temperature near the heater and compares it with the temperature you selected. When the room is colder than your setting, the switch closes and electricity flows to the heating element. When the room reaches your setting, the switch opens and the heating element switches off. As the room cools again, the process repeats.
This constant cycling keeps the room at a steady temperature, saves electricity and prevents the heater from overheating. When the thermostat fails, that control is lost, and problems such as no heat, constant heat or random shutdowns appear.
Types of Thermostats Used in Room Heaters
Knowing which type your heater uses helps you understand the symptoms and the likely repair options.
| Type | How it senses heat | Where it is common | Typical failure |
|---|---|---|---|
| Mechanical bimetallic | Two bonded metals bend as they warm and snap a contact open | Basic fan heaters and oil-filled radiators | Burnt or stuck contacts, weakened metal strip |
| Capillary (liquid-filled) | A sealed tube of fluid expands and presses a switch | Oil-filled radiators and panel heaters | Leaking tube, loss of calibration |
| Electronic (NTC thermistor) | A sensor changes electrical resistance with temperature | Modern fan heaters and ceramic heaters | Faulty sensor, damaged control board |
| Digital programmable | Sensor plus a microprocessor and display | Premium ceramic, convector and panel heaters | Board failure, display faults, firmware glitches |
Signs Your Room Heater Thermostat Is Not Working
Thermostat faults show up in a few recognizable ways. Match your heater’s behavior against this list:
- No response to the dial. Turning the temperature knob up or down makes no difference to the heat output.
- The heater never switches off. It keeps heating until the room feels too hot, or until the safety cut-out trips.
- The heater never switches on. The power light is on, the fan may run, but there is no heat.
- Short cycling. The heater turns on and off every few minutes instead of holding a steady rhythm.
- Wrong temperature. The room is much hotter or colder than the dial setting suggests.
- No click. Many mechanical thermostats make a faint click when they switch. If that click disappears, the contacts may be stuck or worn.
- Display errors. On digital models, error codes, a blank screen or a frozen reading can point to a sensor or board fault.
Common Causes of a Faulty Heater Thermostat
1. Dust and debris buildup
Dust is the most common and easiest cause to fix. A layer of lint and pet hair around the sensor can insulate it, so the thermostat reads the wrong temperature. Blocked intake grilles also reduce airflow, which makes the heater run hotter and trip its safety cut-out.
2. Worn or burnt switch contacts
Each time the thermostat switches, a tiny spark can form between the contacts. Over many seasons this causes pitting and carbon buildup. The contacts may then stick together, so the heater never turns off, or fail to touch, so it never turns on.
3. Drifted calibration
Knocks, vibration and age can shift a mechanical thermostat out of calibration. The dial may say 22°C while the real switching point is far higher or lower.
4. Faulty temperature sensor
Electronic heaters rely on a small thermistor. If its wire is loose, corroded or damaged, the control board receives a wrong reading and may shut the heater down early or refuse to start it.
5. Tripped or failed thermal safety cut-out
Most heaters include a separate overheat protector. If this safety device has tripped, the heater will not heat even though the thermostat is fine. Some cut-outs reset by themselves after cooling, while others are one-time parts that need replacement.
6. Tilt or tip-over switch problems
If the heater is on a slightly uneven surface, a carpet edge or a slope, the tip-over switch may cut power. This can look exactly like a thermostat failure.
7. Control board or wiring faults
On digital models, a burnt component, loose connector or power surge damage can disable the controls. Wiring that has become brittle from long heat exposure can also cause intermittent behavior.
8. Poor placement
A heater placed right next to a cold window, an open door or a very sunny spot can confuse its sensor. This is not a true fault, but it causes unusual cycling and wrong readings.
Step by Step: How to Troubleshoot Safely at Home
Important safety warning
A room heater uses mains electricity and produces high temperatures. Always unplug the heater and let it cool completely before cleaning or inspecting it. Do not open sealed units if you are not qualified, and never bypass or tape over a thermostat or safety cut-out.
- Check the power source. Try a different wall socket that you know works. Inspect the cord and plug for cracks, burn marks or a loose fit. A faulty extension or multi-plug can starve the heater of power and imitate a thermostat fault. Heaters should be connected directly to a wall socket.
- Reset the heater. Switch it off, unplug it, and leave it for about 15 minutes. This lets a tripped overheat protector cool down and clears the memory of some digital controllers. Plug it back in and test again.
- Test with the dial turned up. Set the thermostat well above the current room temperature. If the heating element comes on, your earlier setting may simply have been below the room temperature, so the thermostat was correctly staying off.
- Listen and feel. Slowly rotate a mechanical dial from minimum to maximum. A healthy unit usually clicks somewhere along the range. No click at all suggests the contacts or the thermostat itself have failed.
- Clean the vents and sensor area. With the heater unplugged and cool, use a soft brush or a vacuum with a brush attachment to remove dust from grilles, fans and around the sensor. Never use water or spray liquids inside the unit.
- Check the position. Place the heater on a hard, flat surface at least one meter away from curtains, furniture and walls. Make sure the tip-over switch is not being triggered by an uneven floor.
- Test with a different room. Move the heater to another room for a short trial under supervision. If it behaves normally there, the original location was affecting its readings.
- Look for visible damage. Check for discoloration, a burning smell, melted plastic or cracked housing. If you notice any of these, stop using the heater at once.
Advanced Check: Continuity Test (For Experienced Users Only)
If you have electrical experience, you can test a removable mechanical thermostat with a multimeter set to continuity or low resistance. With the heater unplugged, disconnected and cold, touch the probes to the two thermostat terminals.
- At a low setting with a cold thermostat, the contacts are normally closed, so you should get continuity.
- Turn the dial to its lowest setting and the reading should change to open, meaning no continuity, once the control is switched off.
- Continuity at every position means the contacts are stuck closed. No continuity at any position means the thermostat is open or burnt out.
If you are not confident working with heater wiring, skip this test and have a qualified technician carry it out. Heater thermostats are inexpensive parts, but the labor and risk of an incorrect repair should be taken seriously.
Why You Should Never Bypass a Heater Thermostat
Some people try to “fix” the problem by wiring the heating element straight to the power supply. This removes temperature control completely and can lead to overheating, melted components and fire. Modern heaters also depend on the thermostat working together with the thermal cut-out and tip-over switch as layers of protection. Removing one layer weakens the whole safety system.
Repair or Replace? How to Decide
| Situation | Recommended action |
|---|---|
| Dust buildup or dirty sensor cleared the fault | Keep using it and clean it every month in winter |
| Replaceable mechanical thermostat on a good-quality heater | Repair with an exact-match part by a qualified technician |
| Heater is more than 6 to 8 years old with several faults | Replace the heater |
| Burnt plastic, scorched wiring or melted plug | Stop using it and replace the heater |
| Digital board fault on a budget heater | Replace, since board repair often costs close to a new unit |
| Heater still under warranty | Contact the seller or manufacturer instead of opening the unit |
How to Prevent Thermostat Problems in the Future
- Vacuum the grilles and vents regularly during the heating season.
- Store the heater in a dry place with its cover on during summer.
- Avoid dropping or bumping it, since mechanical thermostats are sensitive to shocks.
- Do not run the heater at maximum for hours when a mid setting is enough.
- Plug the heater directly into the wall, not into a worn extension.
- Keep it away from damp areas such as bathrooms unless the heater is rated for them.
- Let it cool before moving or storing it.
Features to Look for in a Replacement Room Heater
If your heater is beyond saving, choosing a new one with reliable temperature control will prevent a repeat of the problem. Consider these points when shopping:
- Adjustable thermostat with clear markings. A precise control gives steadier comfort and lower power use.
- Overheat protection. An automatic cut-out is an essential safety layer.
- Tip-over protection. The heater should switch off automatically if it falls or is knocked.
- Suitable wattage for the room size. An undersized heater runs constantly, while an oversized one cycles too often.
- Digital display and timer. Useful for scheduling and for seeing the real room temperature.
- Quiet operation and a cool-touch body. Handy for bedrooms and homes with children or pets.
- Recognized safety certification and a solid warranty. This signals tested quality and protection if something goes wrong.
| Heater type | Best for | Thermostat behavior |
|---|---|---|
| Ceramic fan heater | Small rooms and quick warm-up | Fast response, may cycle often |
| Oil-filled radiator | Bedrooms and steady, silent heat | Slow, smooth temperature control |
| Convector heater | Medium rooms and long use | Even heat with stable cycling |
| Panel heater | Wall-mounted or compact spaces | Accurate, usually digital control |
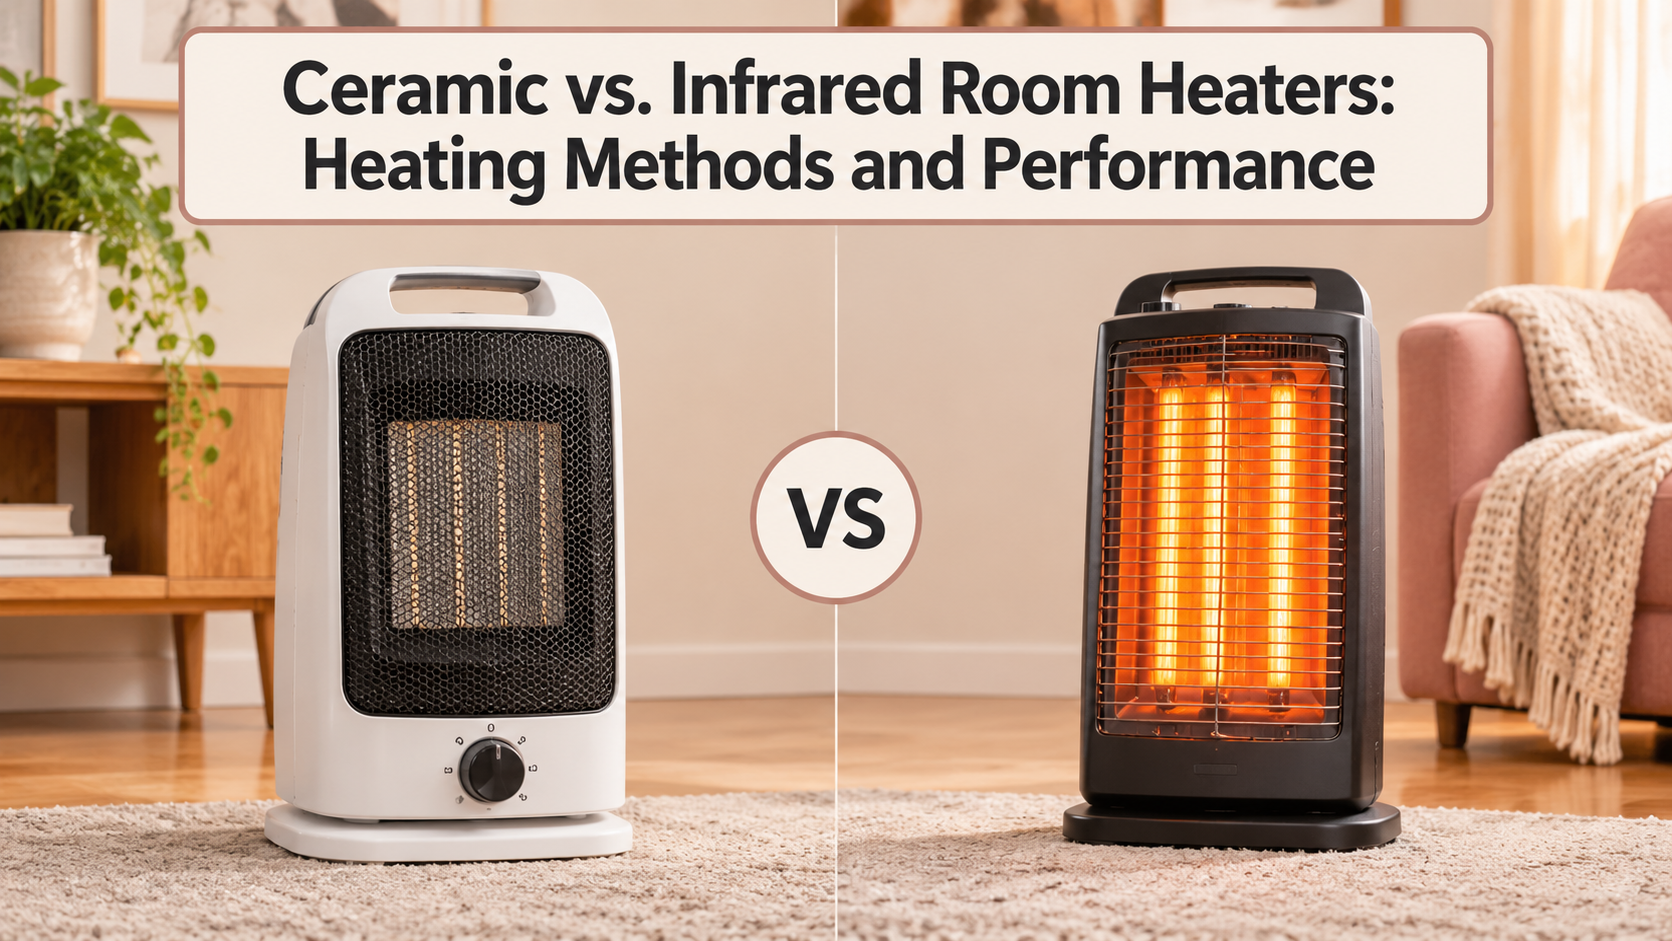
| Infrared heater | Spot heating of people rather than air | Often relies on a timer rather than room temperature |
Frequently Asked Questions
Why is my room heater not responding to the thermostat?
The most common reasons are dust on the sensor, stuck or burnt contacts, a drifted calibration, or a tripped overheat protector. Start with a reset and a cleaning before suspecting a failed part.
Why does my heater keep running and never switch off?
This usually means the thermostat contacts are stuck closed or the sensor is reading a temperature lower than the real one. Stop using the heater, because a stuck-on thermostat can cause overheating.
Why does my heater switch on but not produce heat?
The fan or power light may work while the heating element circuit is open. A tripped thermal cut-out, an open thermostat or a burnt element can cause this. Try a reset first, then have it inspected.
Can I replace a heater thermostat myself?
Only if you are qualified and the heater is out of warranty. The replacement must match the original part’s rating exactly. Otherwise, use a professional technician.
How long does a heater thermostat last?
With normal use, a good thermostat lasts many heating seasons. Dust, shocks, heavy use and poor power quality can shorten its life.
Why does my heater turn off before the room is warm?
The sensor may be reading heat from the heater itself, the airflow may be blocked, or the overheat cut-out may be tripping. Cleaning the vents and moving the heater to open space often helps.
Is a thermostat problem dangerous?
It can be. A thermostat that fails in the on position removes temperature control, so the heater may overheat. Treat unusual behavior seriously and stop using the unit if you smell burning or see discoloration.
Is it worth repairing an old heater?
If the repair is cheap and the heater is otherwise sound, repair can make sense. For older units with multiple faults or any burn damage, replacement is the safer and often cheaper choice.
Final Thoughts
A room heater thermostat that stops working is rarely a mystery. Most cases come down to a handful of causes: dust, stuck contacts, a drifted setting, a faulty sensor or a tripped safety device. By checking the power, resetting the heater, cleaning it and placing it correctly, you can solve many problems in minutes without spending anything.
When those steps fail, treat the thermostat fault seriously. Heaters run on high power and produce high heat, so a quick shortcut is never worth the risk. Choose a qualified repair or a well-built replacement with proper thermostat control, overheat protection and tip-over safety, and your room will stay warm, comfortable and safe all winter.
Disclaimer
This article is for general information only and does not replace the manufacturer’s manual or advice from a qualified electrician. Always follow the safety instructions supplied with your heater.