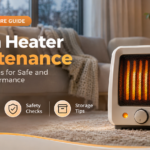



Room Heater Cleaning Guide: Safe Methods and Maintenance Tips
A room heater is one of the hardest-working appliances in your home during winter, yet it is also one of the most neglected. Dust, pet hair and lint slowly build up inside the vents and around the heating element. The result is weaker warmth, higher electricity bills, strange burning smells and, in the worst cases, a real fire risk.
The good news is that cleaning a room heater is simple, cheap and takes less than 30 minutes. This complete guide explains the safest cleaning methods for every common heater type, a practical maintenance schedule, troubleshooting tips and buying advice, so your heater stays efficient for many winters.
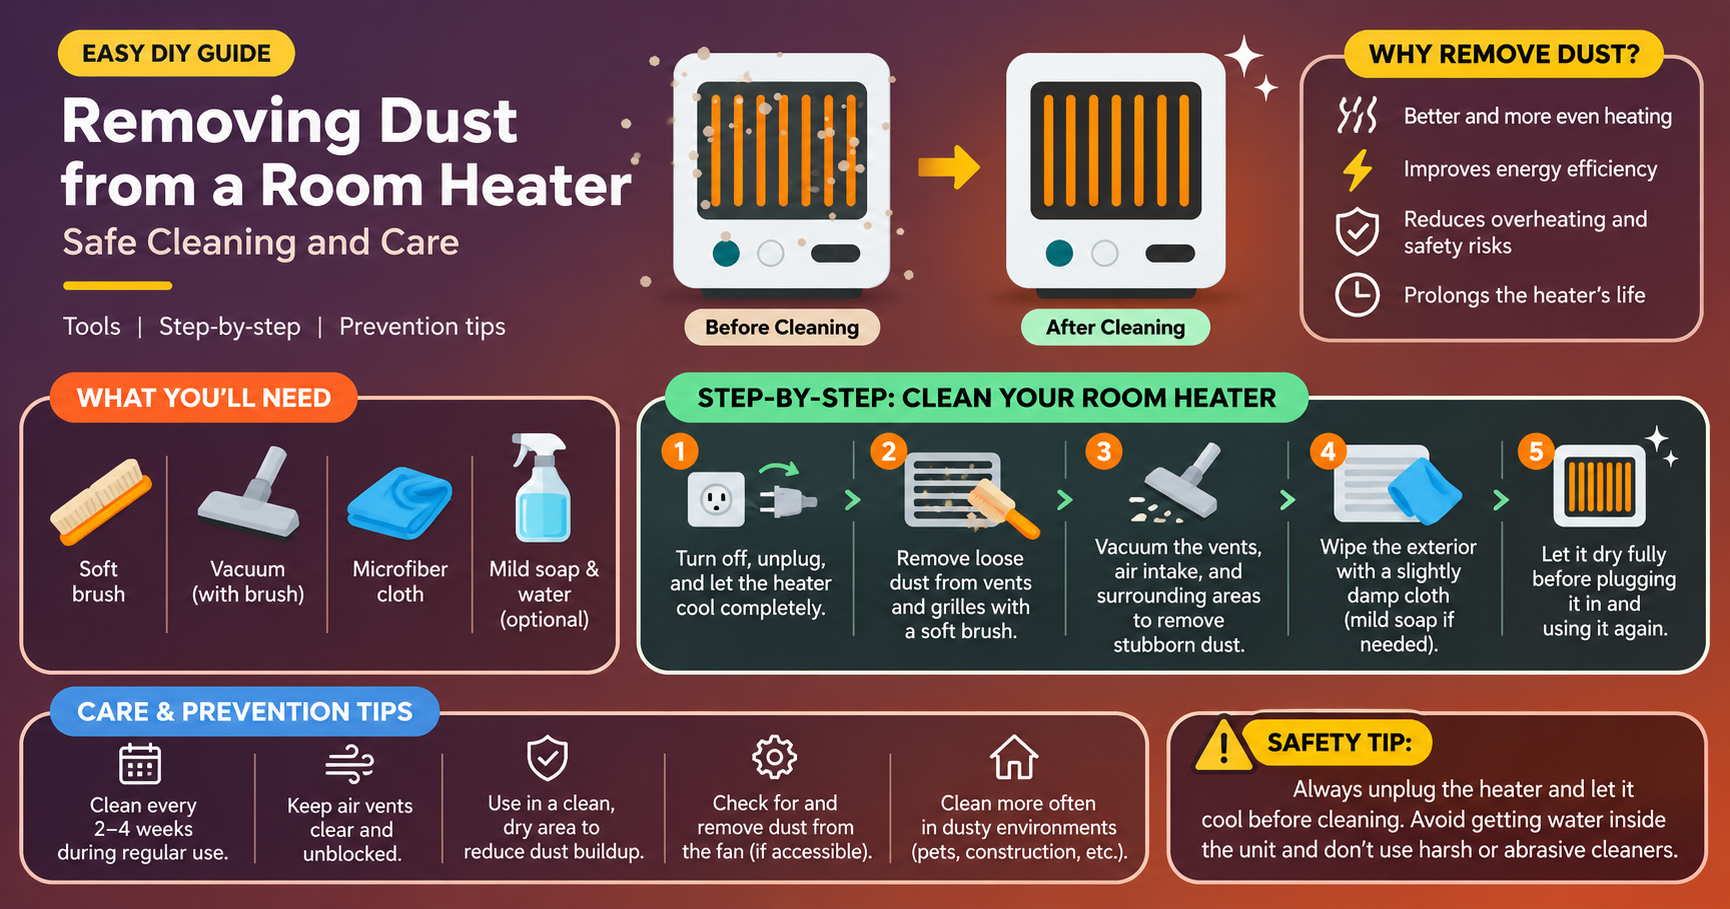
Why Cleaning Your Room Heater Matters
- Better heating performance: Clogged vents block airflow, so the heater works longer to warm the same room.
- Lower energy bills: A clean heater reaches the target temperature faster and uses less electricity.
- Improved safety: Built-up dust can overheat, smoke or even ignite near hot components.
- Healthier air: Burning dust releases odors and can irritate people with allergies or asthma.
- Longer lifespan: Less strain on the fan, motor and thermostat means fewer breakdowns.
Safety First: Before You Start
- Switch the heater off and unplug it from the wall socket.
- Let it cool fully. Oil-filled radiators may need longer because oil holds heat.
- Move the heater to a well-lit, open area, ideally on newspaper or an old towel.
- Read the manufacturer’s manual for model-specific warnings, especially about removable panels.
- Never open sealed parts such as the oil reservoir of an oil-filled radiator.
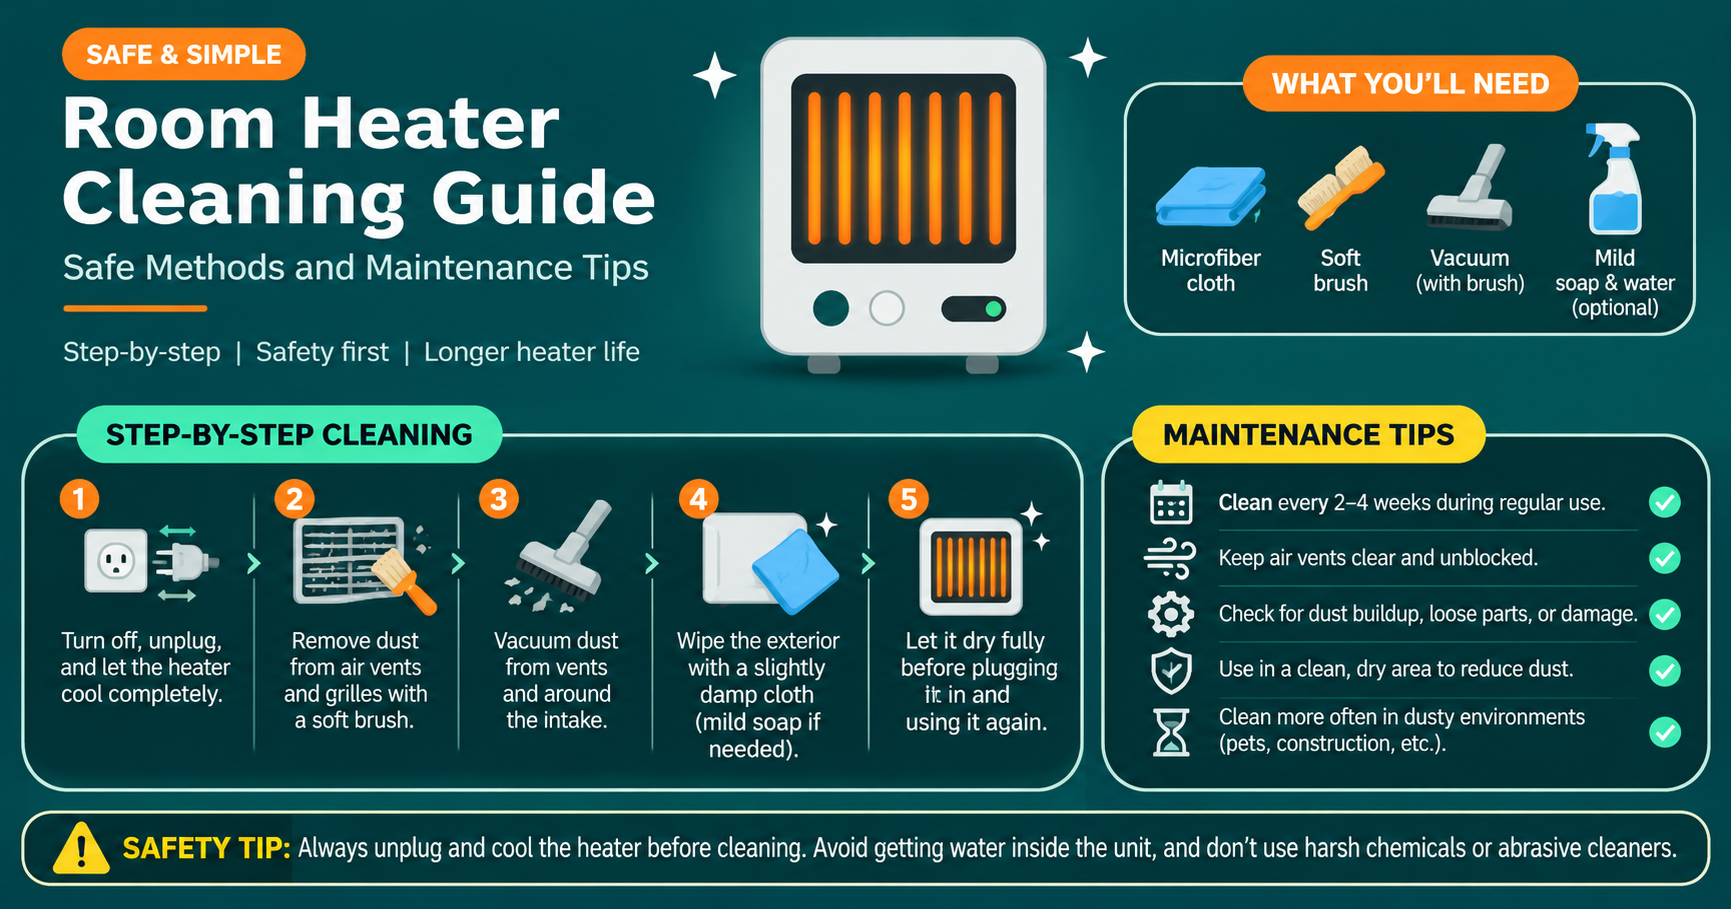
Tools and Supplies You Will Need
- Soft-bristle brush or clean paintbrush
- Vacuum cleaner with a brush or crevice attachment
- Two microfiber cloths (one slightly damp, one dry)
- Mild dish soap and lukewarm water
- Cotton swabs for tight corners
- Compressed air can (optional, for deep dust)
- Screwdriver for removable grilles (only if the manual allows)
Step-by-Step: How to Clean a Room Heater
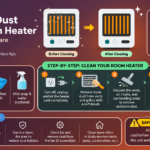
Step 1: Unplug and Cool Down
Disconnect the heater and give it time to cool. Rushing this step is the most common cause of burns and electric shock during cleaning.
Step 2: Remove Loose Dust
Use the vacuum with a brush attachment on the front grille, side vents and rear intake. Follow with a soft brush to loosen dust stuck between slats. Compressed air, used in short bursts, helps reach deeper areas.
Step 3: Wipe the Exterior
Mix a few drops of mild dish soap into lukewarm water. Wring out a microfiber cloth until it is barely damp and wipe the body, handle and control panel. Avoid letting water drip into vents or switches.
Step 4: Dry Completely and Test
Wipe with a dry cloth and leave the heater to air-dry for at least 30 minutes. Plug it in and run it on low for a few minutes. A slight dusty smell right after cleaning is normal and should disappear quickly.
Cleaning Methods by Heater Type
| Heater Type | Best Cleaning Method | Extra Tip |
|---|---|---|
| Fan heater | Vacuum vents, brush the fan blades through the grille | Clean the intake grille monthly, as it clogs fastest |
| Ceramic heater | Vacuum the grille, wipe the housing with a damp cloth | Check the air filter if your model has one |
| Oil-filled radiator | Wipe fins with a damp cloth, use a thin brush between fins | Never open the oil chamber |
| Halogen or quartz heater | Dust the reflector and guard with a dry soft cloth | Do not touch the tube with bare fingers; skin oil can damage it |
| Convection panel heater | Vacuum the top and bottom vents, wipe the panel | Keep the lower air inlet clear of carpet fibers |
| Infrared heater | Dry-dust the front panel and housing | Use only a barely damp cloth on non-glass parts |
Heater Maintenance Schedule
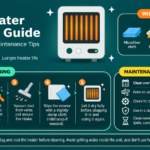
Light weekly wiping and a monthly vent cleaning are enough for most households. If you have pets, carpets, or live in a dusty area, clean the vents every two weeks during heavy use.
Common Cleaning Mistakes to Avoid
- Spraying cleaner directly on the heater: Liquid can reach electrical parts and cause short circuits.
- Using harsh chemicals or abrasives: They damage plastic, paint and protective coatings.
- Cleaning while warm: Heat can cause burns and make cleaning solutions evaporate into fumes.
- Forcing open sealed parts: This can void the warranty and create safety hazards.
- Skipping the manual: Different models have different rules for filters and panels.
- Storing it dirty: Dust and moisture over summer can lead to corrosion and bad smells.
Troubleshooting After Cleaning
| Problem | Likely Cause | What to Do |
|---|---|---|
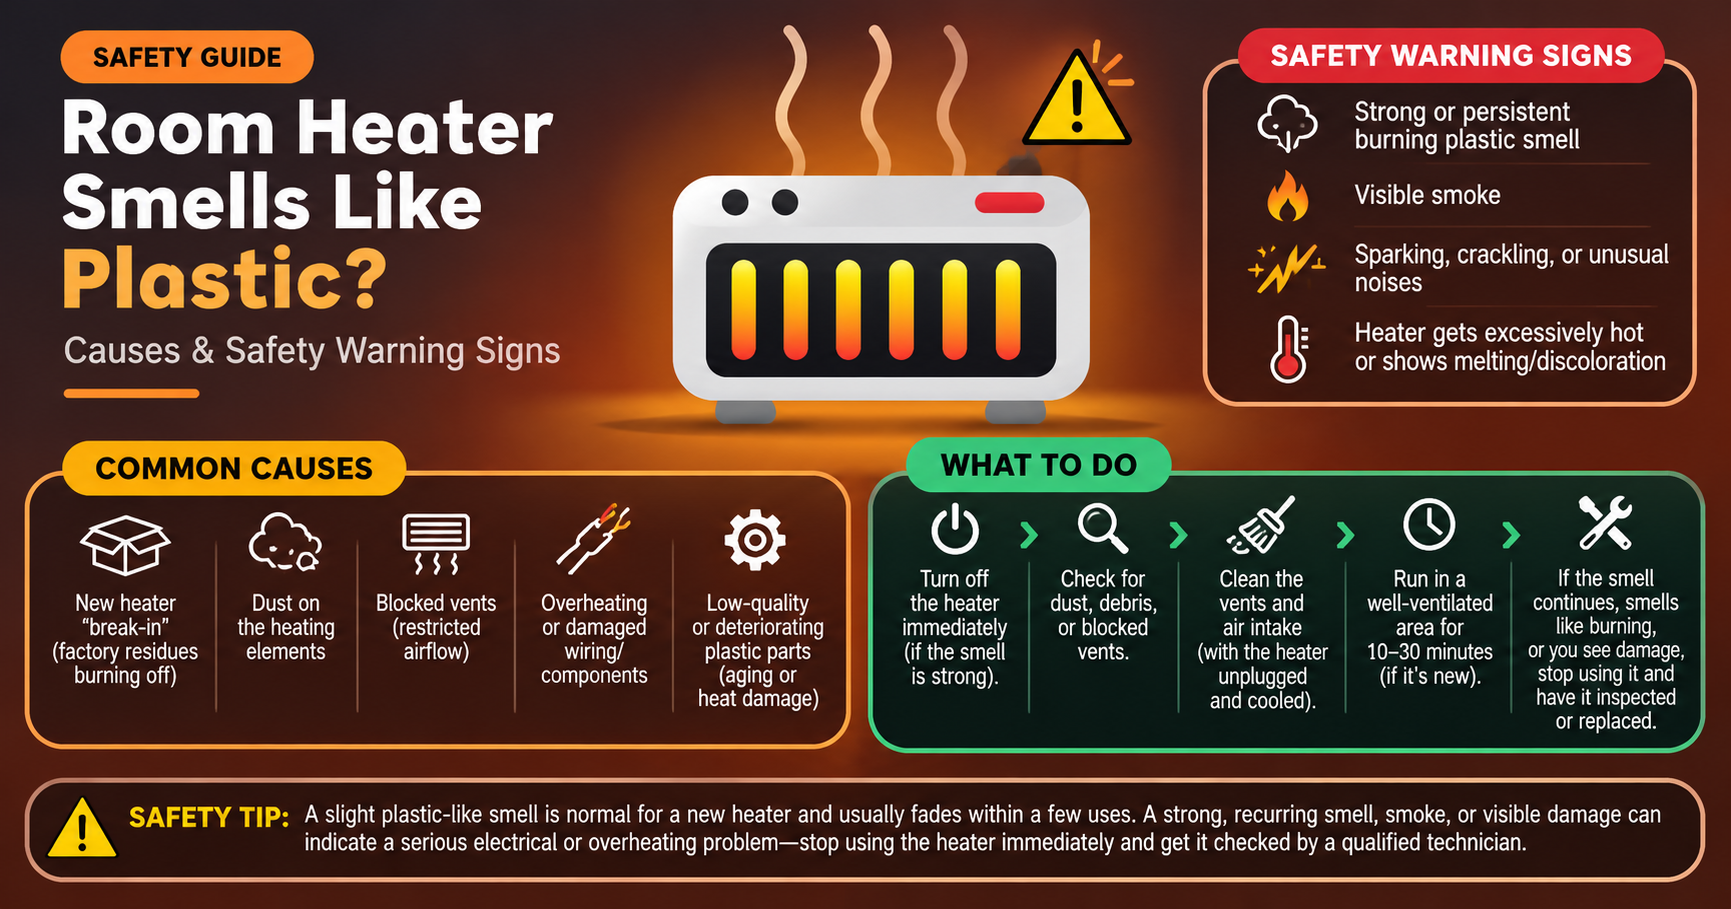
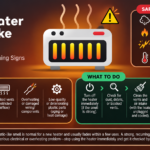
| Burning dust smell | Leftover dust on the element | Run on low for 10 to 15 minutes; if it persists, switch off and inspect |
| Weak heat output | Blocked vents or filter | Re-clean vents and replace or wash the filter |
| Heater shuts off suddenly | Overheat protection triggered | Clear airflow, cool down and restart |
| Loud fan noise | Dust on blades or loose parts | Brush blades gently; seek service if noise continues |
| Does not turn on | Tripped safety switch or damaged cord | Check the plug, cord and tip-over switch |
Everyday Safety Tips for Using a Room Heater
- Keep at least 3 feet (about 1 meter) of free space around the heater, away from curtains, bedding and furniture.
- Plug directly into a wall socket instead of a weak extension cord.
- Place it on a flat, hard surface to prevent tipping.
- Never dry clothes on top of or directly in front of the heater.
- Do not leave it running unattended or while sleeping unless it has proven safety features and your manual allows it.
- Inspect the cord and plug regularly for heat marks, cracks or discoloration.
How to Store Your Heater After Winter
Clean it thoroughly, dry it completely, and wrap the cord loosely without kinks. Cover the heater with a breathable cloth or its original box and store it upright in a dry place. Avoid damp basements and plastic bags that trap moisture.
When to Repair or Replace Your Heater
- The cord or plug is melted, frayed or very hot to the touch.
- The heater trips the circuit breaker repeatedly.
- You see sparks or smell burning plastic even after cleaning.
- The thermostat no longer responds correctly.
- The unit is over 8 to 10 years old and has frequent faults.
In these cases, stop using the heater and contact a qualified technician or consider replacing it.
What to Look for When Buying an Easy-to-Maintain Heater
If you are shopping for a new heater, choose one designed for simple upkeep and safety:
- Removable or washable filter for quick cleaning.
- Tip-over and overheat protection as standard safety features.
- Smooth, accessible vents that are easy to vacuum.
- Adjustable thermostat to save energy and reduce wear.
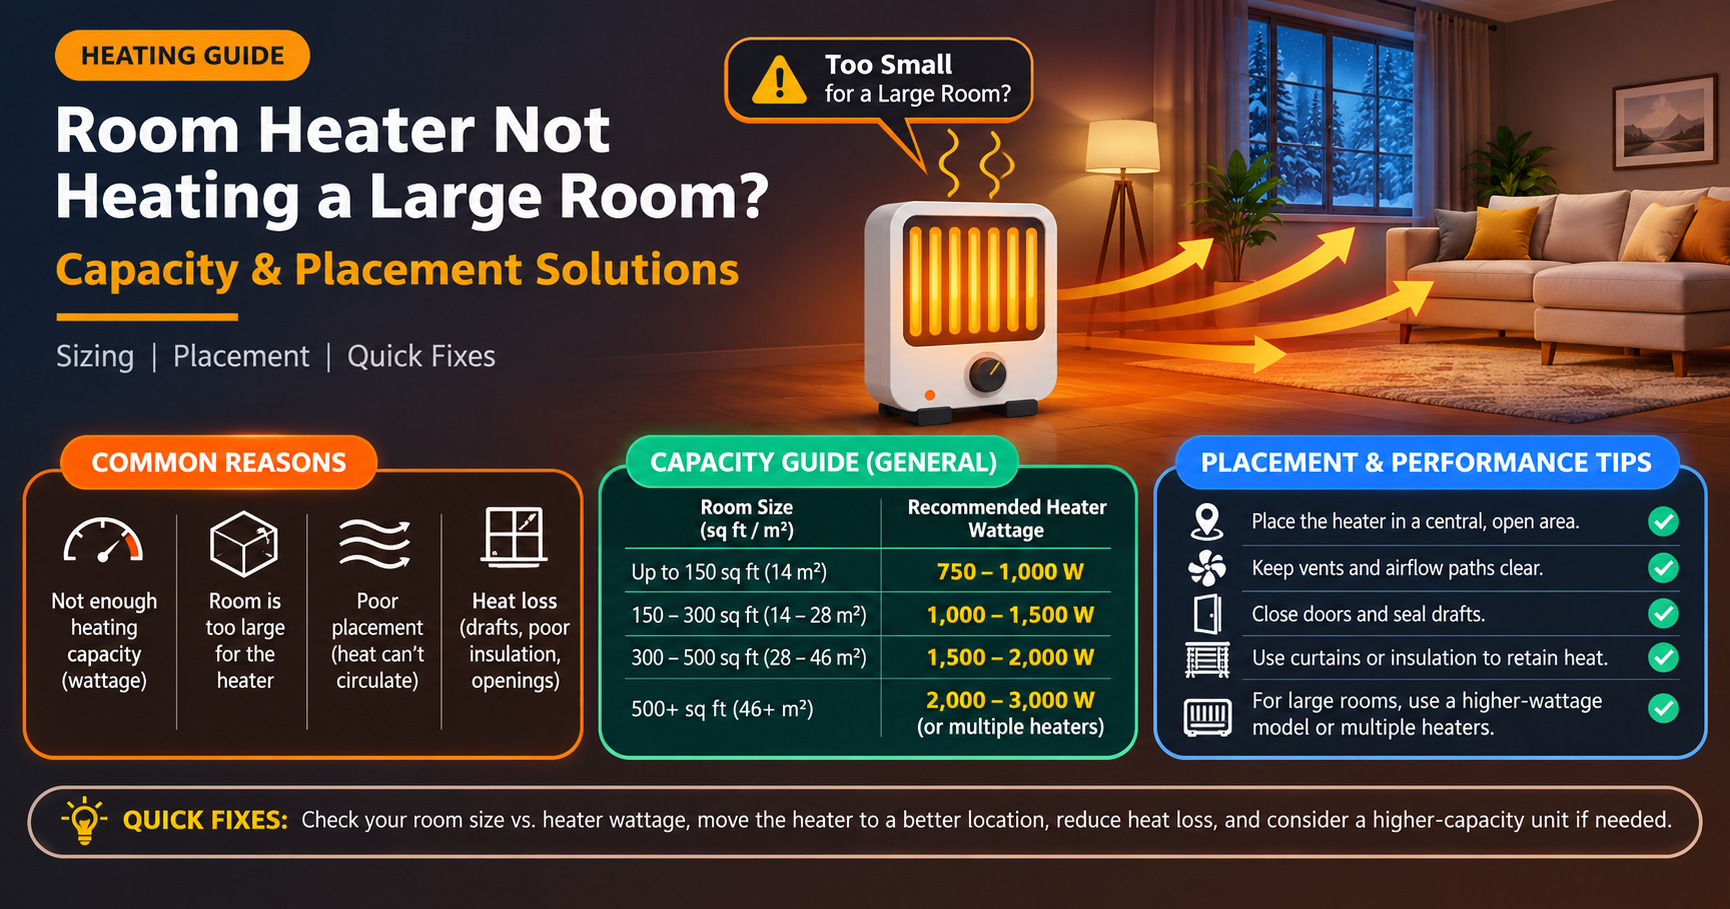
- Right wattage for your room size so the heater does not overwork.
- Reputable brand with clear warranty and available spare parts.
Frequently Asked Questions
How often should I clean my room heater?
Wipe the exterior weekly and clean the vents and filter monthly during the heating season. Clean more often if you have pets or a dusty home.
Can I use water to clean a room heater?
Only a slightly damp cloth on the outer body, and only when the heater is unplugged and cool. Never pour or spray water into vents, controls or the heating element.
Why does my heater smell when I turn it on for the first time each winter?
Dust settled on the heating element burns off at first use. Cleaning before storage and before first use reduces this smell. If it smells like burning plastic, switch it off immediately.
Is it safe to use compressed air on a heater?
Yes, in short bursts and with the heater unplugged and cool, but vacuuming first is safer so dust does not just spread around the room.
Do I need a professional to clean my heater?
Routine exterior and vent cleaning is safe to do yourself. Call a technician if you need to open internal parts or notice electrical faults.
Final Thoughts
Regular cleaning is the easiest way to get safer, stronger and more economical heating from your room heater. Unplug it, remove the dust, wipe it gently, dry it well and follow the maintenance schedule above. A few minutes each month will protect your family, lower your bills and help your heater last for years.
Disclosure: This article is for general information. Always follow your heater manufacturer’s instructions for cleaning and safe use.