






You are halfway through a video call when your face freezes. A movie buffers on the bedroom TV while the same stream plays perfectly in the living room. The smart camera in the garage keeps going offline. If this sounds familiar, you probably have one or more Wi-Fi dead zones in your home.
The good news is that dead zones are not a mystery, and you do not need expensive equipment to find them. Once you know how to find Wi-Fi dead zones at home, you can map your signal, understand why it drops and choose the right fix instead of guessing. This guide walks you through every method, from a simple walk-around test to a full signal heat map, and explains what to do with the results.
Table of Contents
- What Is a Wi-Fi Dead Zone?
- Signs You Have Dead Zones at Home
- Why Dead Zones Happen
- What You Need Before You Start
- Method 1: The Simple Walk Test
- Method 2: Use a Wi-Fi Analyzer App
- Method 3: Run Speed Tests Room by Room
- Method 4: Build a Wi-Fi Heat Map
- Method 5: Check Your Router’s Device List
- Method 6: Test Both 2.4 GHz and 5 GHz Bands
- Method 7: Test at Different Times of Day
- How to Read Your Results
- How to Fix Wi-Fi Dead Zones
- Common Mistakes to Avoid
- Frequently Asked Questions
- Final Thoughts
What Is a Wi-Fi Dead Zone?
A Wi-Fi dead zone is an area of your home where the wireless signal from your router is too weak, or too disturbed, for your devices to connect reliably. In a true dead zone your phone may show no bars at all. In a weak zone the connection exists but is slow, unstable or keeps dropping.
Wi-Fi works by sending radio waves from your router to your devices. Those waves lose strength with distance and every time they pass through a wall, floor or object. When the signal that reaches a room falls below the level your device needs, you get a dead zone. It is a coverage problem, not necessarily a problem with your internet plan, which is why paying for a faster plan rarely fixes it.
Signs You Have Dead Zones at Home
Before you start testing, check whether your symptoms match. Common warning signs include:
- Streaming that buffers in certain rooms but plays smoothly in others.
- Video calls that freeze or drop when you move away from the router.
- Smart home devices such as cameras, plugs or doorbells that keep going offline.
- Slow page loading in one part of the house while speeds are fine elsewhere.
- Your phone switches to mobile data because the Wi-Fi is too weak to use.
- Online games with lag spikes only in specific rooms.
- Devices that connect but show “no internet” in far corners, basements or upper floors.
Why Dead Zones Happen
Understanding the cause makes the diagnosis much easier. Most dead zones come from one or more of the following.
Distance from the router
Signal weakens quickly as it travels. A router placed at one end of the house may struggle to reach rooms at the other end, especially in long or multi-story homes.
Walls, floors and building materials
Every obstacle absorbs or reflects part of the signal. Drywall and wooden doors cause a small loss, but brick, concrete and especially metal cause a large one. Concrete floors between storeys are a classic reason why upstairs or basement rooms get so little signal.

Poor router placement
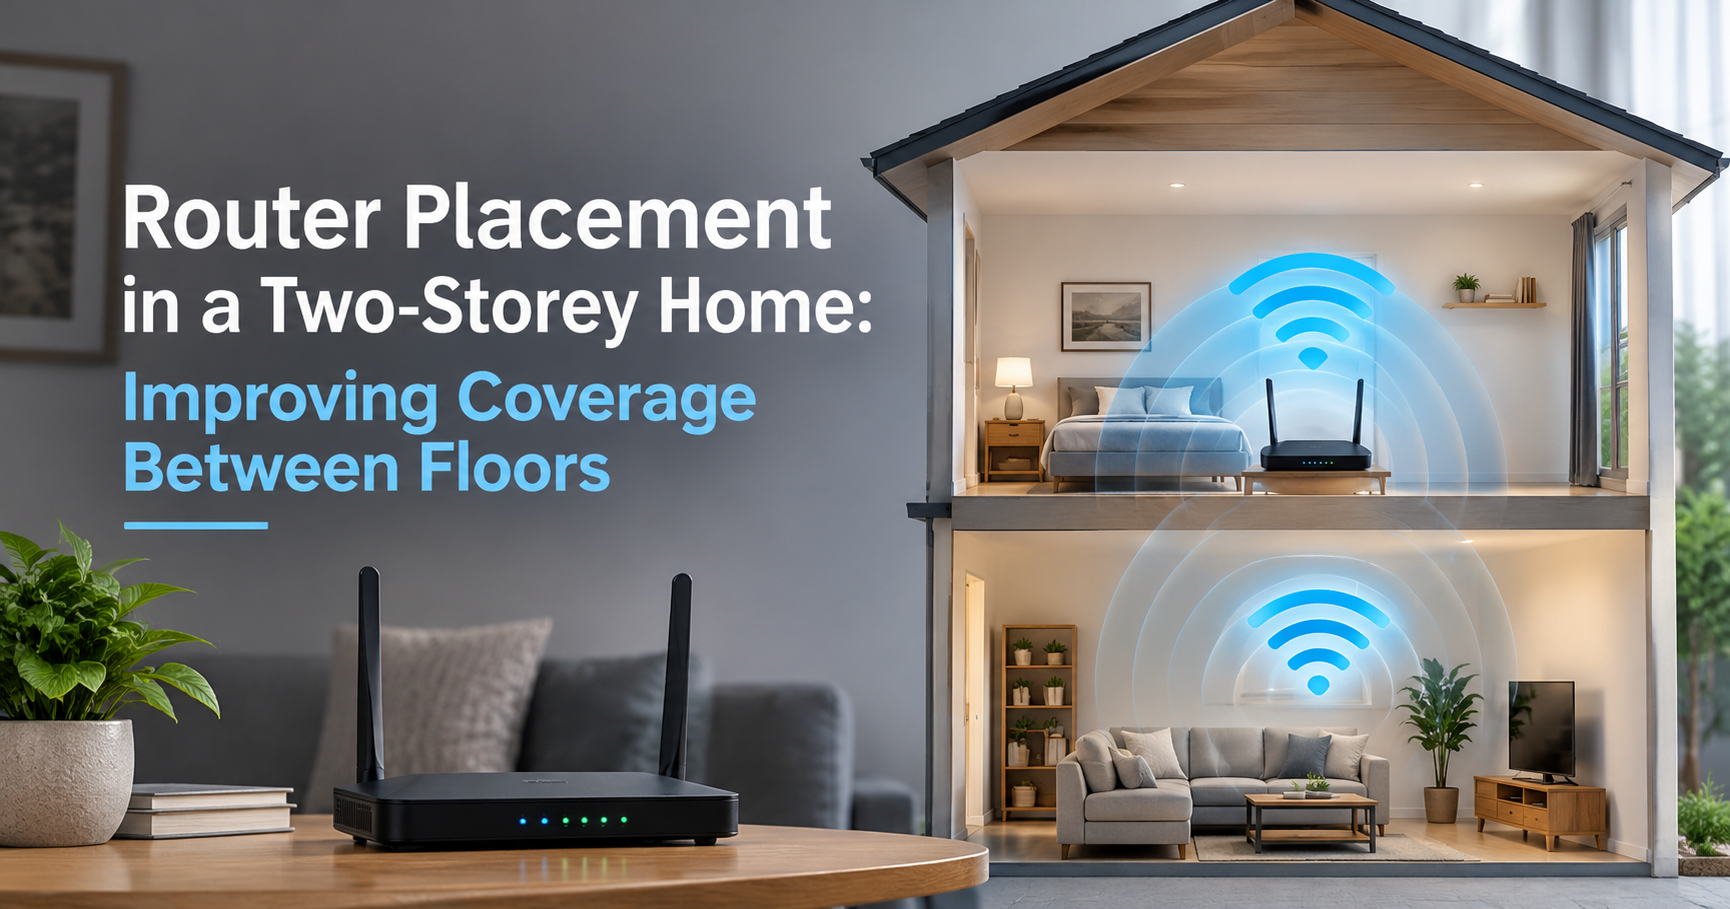
A router hidden in a cupboard, tucked behind the TV, sitting on the floor or pushed into a corner wastes much of its power. Wi-Fi radiates in all directions, so a central, elevated, open position almost always performs better.

Interference from other devices
The 2.4 GHz band is crowded. Microwave ovens, cordless phones, baby monitors, Bluetooth devices and neighbours’ networks can all compete for the same airwaves. Large mirrors, fish tanks, metal appliances and thick bookshelves can also reflect or absorb the signal.
An old or underpowered router
Routers that are several years old may use outdated Wi-Fi standards, weaker antennas and less efficient radios. A router supplied with your internet package is often built to a price, not for covering a large home.
The 5 GHz trade-off
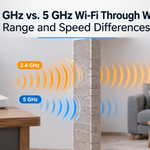
The 5 GHz band is faster and less congested, but it covers a shorter distance and passes through walls less effectively than 2.4 GHz. If your device prefers 5 GHz, it may show strong speeds near the router and drop off sharply a few rooms away.
What You Need Before You Start
You do not need special hardware. Gather these simple items:
- A smartphone, tablet or laptop that connects to your Wi-Fi.
- A Wi-Fi analyzer or heat mapping app (free versions are available for both Android and iPhone; search your app store for “Wi-Fi analyzer” or “Wi-Fi heat map”).
- A speed test app or website you can run quickly.
- A floor plan of your home, which can be a rough sketch on paper.
- A pen, or a notes app, to record your results.
Make sure your router is in its normal position and that all your usual devices are on, so the test reflects real daily conditions.
Method 1: The Simple Walk Test
This is the fastest way to get a rough idea of where the problems are, and it takes about ten minutes.
- Stand next to your router and connect your phone to your Wi-Fi network.
- Open a video, a music stream or a speed test so you can see the connection working.
- Slowly walk through each room, pausing for about 15 to 20 seconds in the middle and in the corners.
- Note every spot where the video buffers, the audio stutters, the signal bars drop or the connection disappears.
- Mark those locations on your sketch of the floor plan.
Do not forget stairs, hallways, bathrooms, the garage, the balcony and any outdoor areas you want covered. These are the places dead zones hide most often.
Method 2: Use a Wi-Fi Analyzer App
A walk test shows you where the problem is. A Wi-Fi analyzer tells you how bad it is, in numbers. These apps display the signal strength in dBm (decibel-milliwatts), which is the standard way to measure Wi-Fi signal quality.
Open the app, connect to your network and look at the live signal reading for your own network name. Walk through the house as before and write down the dBm figure in each room. Remember that the scale looks backwards at first: numbers closer to zero are better, so -45 dBm is far stronger than -80 dBm.

| Signal strength | Quality | What it means in daily use |
|---|---|---|
| -30 to -50 dBm | Excellent | Maximum speed, rare in practice except next to the router |
| -50 to -60 dBm | Very good | Reliable for streaming, calls and gaming |
| -60 to -67 dBm | Good | Fine for HD video and general browsing |
| -67 to -70 dBm | Minimum | Borderline; may struggle when the network is busy |
| -70 to -80 dBm | Weak | Slow loading and dropped calls |
| Below -80 dBm | Dead zone | Frequent disconnections; practically unusable |
As a general rule, aim for -67 dBm or stronger in every room where you stream, work or game. Anything weaker than -70 dBm should be treated as a problem area.
Method 3: Run Speed Tests Room by Room
Signal strength is only part of the story. A room can show a decent signal but still deliver poor speeds because of interference or congestion. To see the real-world effect, run a speed test in each room and record:
- Download speed in Mbps, which matters for streaming and browsing.
- Upload speed in Mbps, which matters for video calls and cloud backups.
- Ping or latency in milliseconds, which matters for gaming and calls.
Run each test two or three times and use the average, because a single result can be thrown off by a short burst of traffic. Compare every room against the result you get standing next to the router. If a room delivers less than half of the speed you get beside the router, you have found a weak zone.
Method 4: Build a Wi-Fi Heat Map
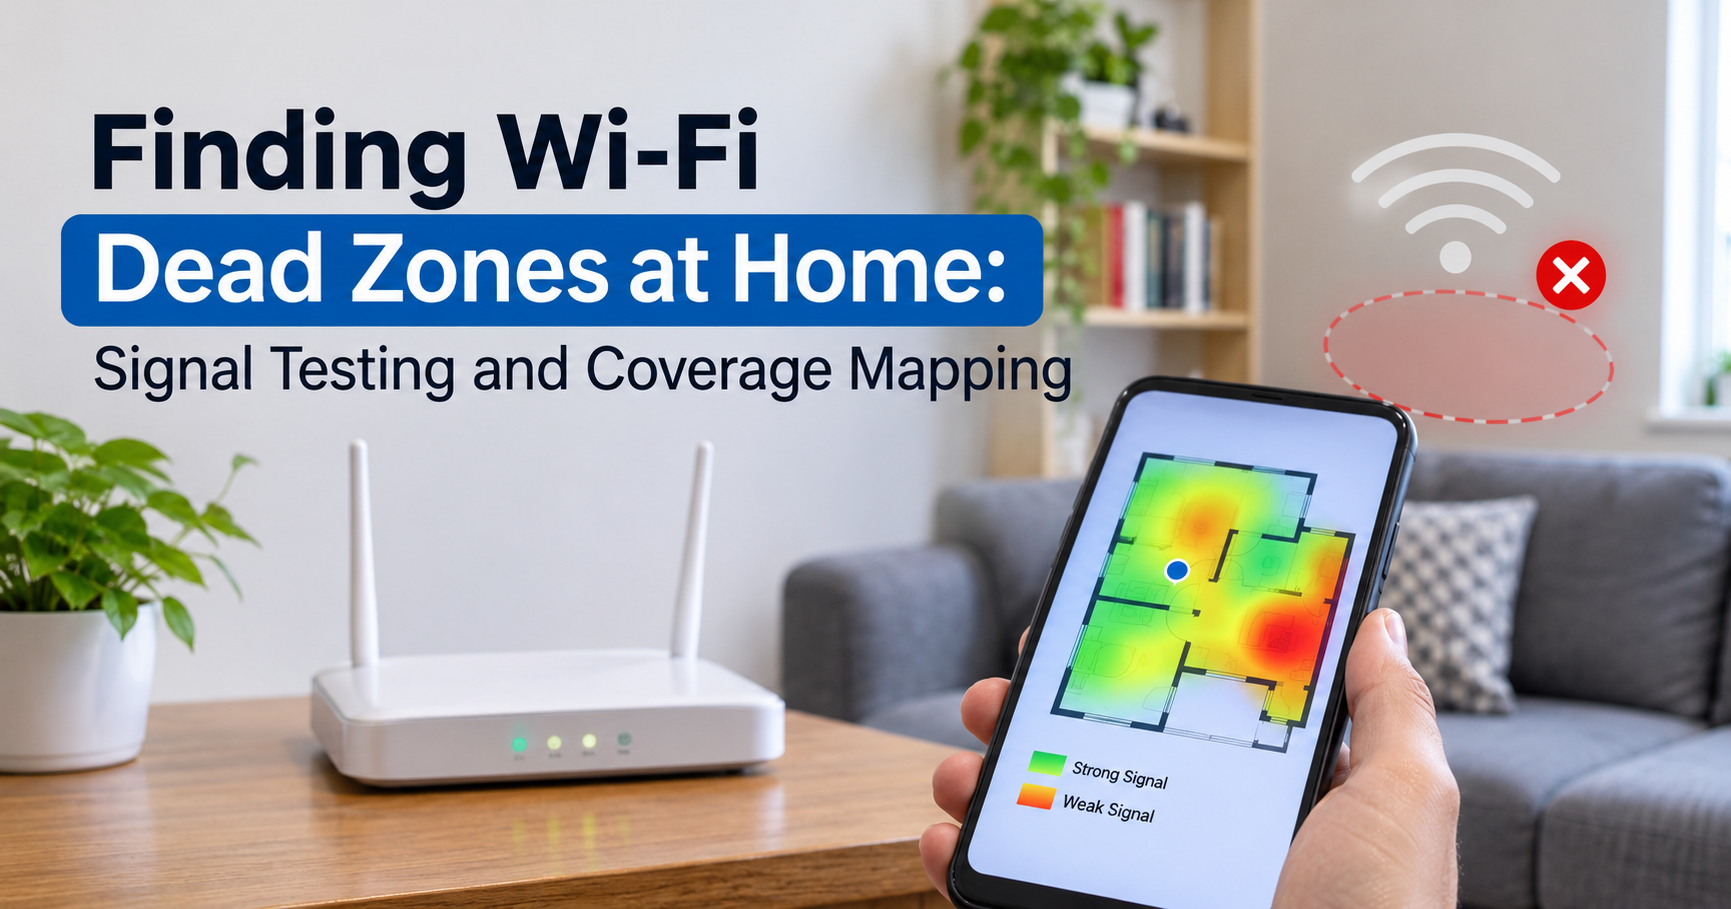
A heat map turns your measurements into a colour-coded picture of your home, making dead zones obvious at a glance. Many analyzer apps can create one automatically: you load a floor plan, tap your position as you walk and the app records the signal at each point.
You can also build a manual version without any special app:
- Sketch your floor plan and mark the router location.
- Take a dBm reading in the centre of each room.
- Colour each room: green for excellent, yellow for fair, orange for weak and red for dead.
- Look for patterns, such as everything behind a particular wall turning red.

In this example the router is in the living room, so the home office and Bedroom 1 sit in dead zones. Seeing it laid out like this immediately suggests the fix: either move the router or add coverage near those rooms.
Method 5: Check Your Router’s Device List
Most routers have an admin page that lists connected devices and, on many models, shows the signal quality or link speed for each one. Look for devices that report very low link speeds or that keep reconnecting. If a device is always at the bottom of the list, it is probably sitting in a weak zone.
This method is especially helpful for fixed devices such as smart TVs, printers, security cameras and game consoles, because they do not move around. A camera that disconnects every evening is a clear sign of a coverage gap at its location.
Method 6: Test Both 2.4 GHz and 5 GHz Bands
Modern routers broadcast on two main bands, and your dead zones may look different on each. Test your signal on both, either by connecting to each network name separately or by using an analyzer that shows both bands.
- 2.4 GHz: longer range and better at passing through walls, but slower and more prone to interference.
- 5 GHz: faster and cleaner, but shorter range and weaker through walls and floors.
If a room has a decent 2.4 GHz signal but a poor 5 GHz signal, the issue is range, not total absence of coverage. Knowing this helps you decide between repositioning the router and adding extra access points.
Method 7: Test at Different Times of Day
Some dead zones only appear at certain times. In the evening, when everyone is streaming and neighbouring networks are busy, interference and congestion rise. Repeat your tests in the morning, the afternoon and the evening, then compare. If problems show up mainly at peak hours, congestion or channel overlap may be the cause rather than pure distance.
How to Read Your Results
Once you have collected your measurements, review them with these questions:
- Is the weak area far from the router? Distance is the likely cause.
- Is it close but behind a thick wall or floor? Building materials are the likely cause.
- Is the signal strong but the speed poor? Interference or congestion is the likely cause.
- Is the problem worse in the evening? Network congestion is the likely cause.
- Is it only on 5 GHz? Range limits of the faster band are the likely cause.
Write a short list of your problem rooms along with the most probable cause for each. This list will guide you to the right solution below.
How to Fix Wi-Fi Dead Zones
Once you have found your dead zones, you can fix them with one or more of these solutions, starting with the cheapest.
1. Move your router to a better position
This is free and often the most effective fix. Place the router in a central location, raised off the floor on a shelf or high table, and in the open rather than inside a cabinet. Keep it away from microwaves, cordless phones, large metal objects and thick walls. Even moving it a few metres can change the heat map dramatically.
2. Adjust the antennas and orientation
If your router has external antennas, point them in different directions. A common approach is to angle one vertically and one horizontally so the signal spreads across both floors and across the room.
3. Change the Wi-Fi channel
If neighbours’ networks overlap with yours, switching to a less crowded channel can improve speed and stability. Your analyzer app shows which channels are busy. On the 2.4 GHz band, channels 1, 6 and 11 are the usual non-overlapping choices.
4. Update the router firmware and restart it
Manufacturers release updates that improve stability and performance. Check the admin page for an update and restart the router from time to time to clear temporary glitches.
5. Add a Wi-Fi extender or repeater
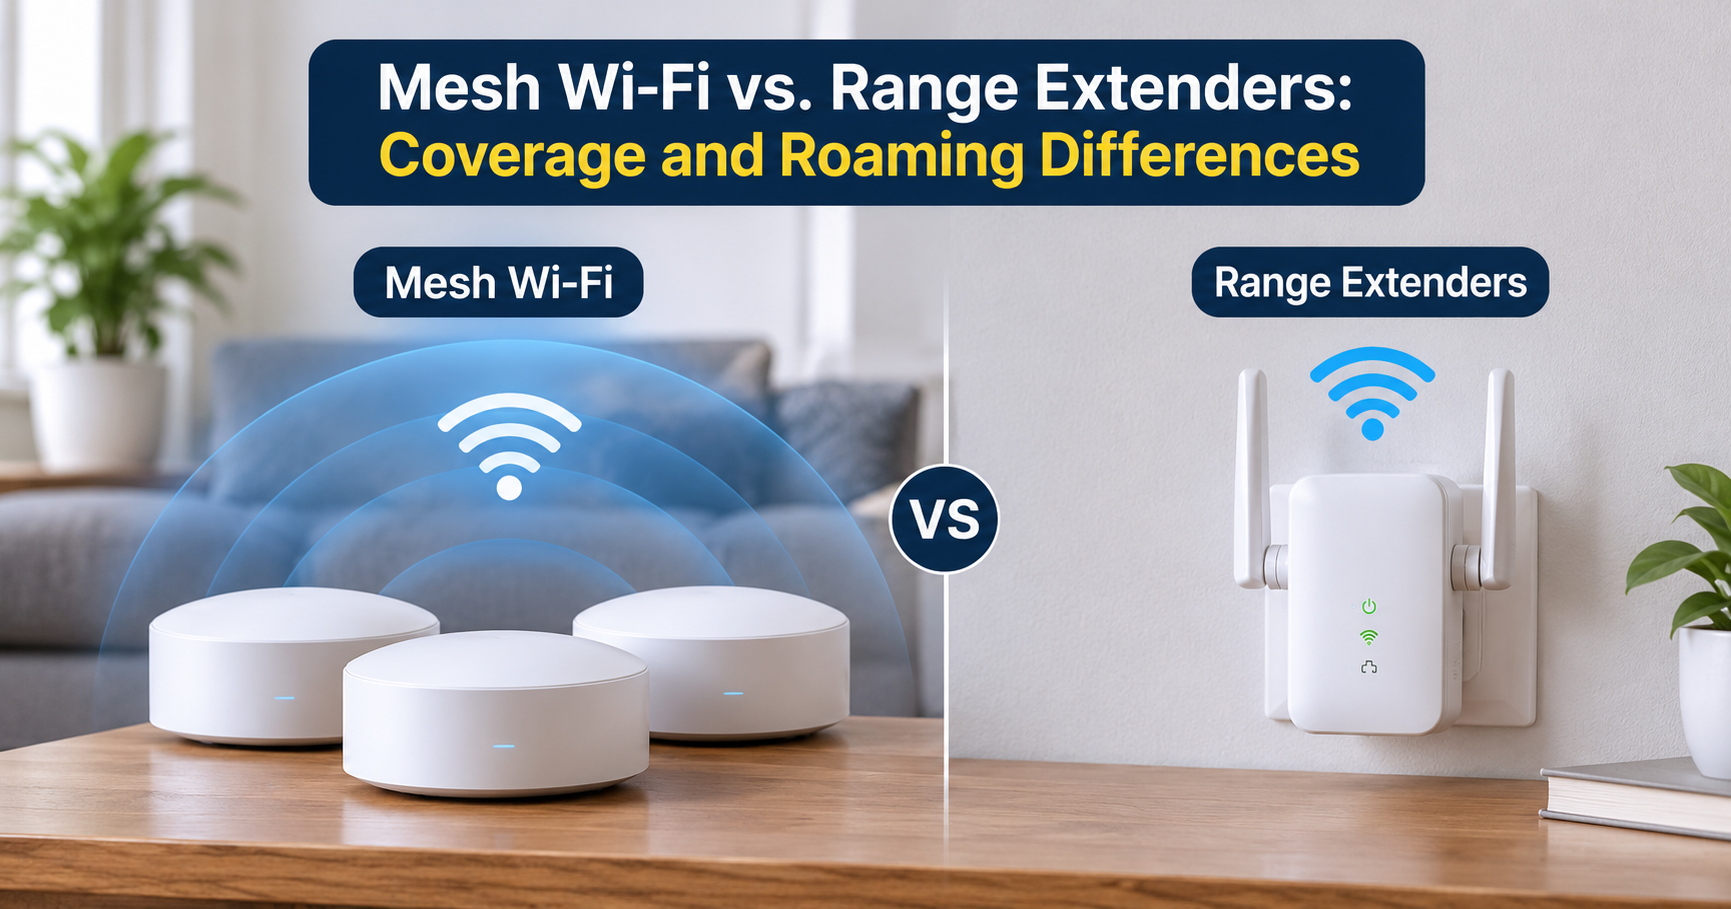
An extender picks up the existing signal and rebroadcasts it into the dead zone. It is an affordable fix for a single problem area, but it should be placed halfway between the router and the dead zone, where the incoming signal is still strong. Extenders can also reduce speed because they relay data, so they work best for light tasks.
6. Upgrade to a mesh Wi-Fi system
For larger or multi-storey homes, a mesh system is usually the best long-term answer. It uses a main router plus several nodes placed around the house that work together as one network with one name. Devices move smoothly from node to node as you walk around. Mesh systems that support a dedicated wireless link between nodes, or wired backhaul, give the most consistent speeds.
7. Use powerline adapters
Powerline kits send the internet signal through your home’s electrical wiring. One adapter connects to the router and another plugs into a socket in the dead zone, where it provides a wired port or its own Wi-Fi. They are useful when thick walls block wireless signals, although performance depends on the quality of your home’s wiring.
8. Run an Ethernet cable to an access point
The most reliable solution is a wired connection. If you can run a network cable to the problem room, you can attach an access point or a second router in access point mode and enjoy full speed with no wireless relay losses.
9. Upgrade an outdated router
If your router is more than four or five years old, a newer model supporting the latest Wi-Fi standards will offer better range, better handling of many devices and improved efficiency. When shopping, look at the coverage rating, the number of antennas, support for both bands and whether the model can be expanded into a mesh network later.
Which Fix Should You Choose?
| Situation | Best first fix |
|---|---|
| Router is hidden or in a corner | Move it to a central, raised position |
| One small weak room, light use | Wi-Fi extender placed halfway |
| Large or multi-storey home | Mesh Wi-Fi system |
| Thick concrete or brick walls | Powerline adapter or wired access point |
| Strong signal but slow speeds | Change channel, reduce interference |
| Router is very old | Replace it with a newer model |
Common Mistakes to Avoid
- Testing only in one spot per room. Signal can vary a lot within a single room, so check corners and the places where you actually sit.
- Placing an extender in the dead zone itself. An extender needs a good signal to repeat; put it where the router’s signal is still strong.
- Ignoring interference. A microwave or cordless phone near the router can cause problems that no amount of extra equipment will solve.
- Buying a faster plan to fix coverage. More speed does not extend range.
- Not retesting after changes. Always repeat your measurements to confirm that a fix actually worked.
- Using multiple extenders in a chain. Each hop cuts speed; a mesh system or wired access point is a better approach.
Frequently Asked Questions
What is a good Wi-Fi signal strength?
A signal between -30 dBm and -60 dBm is excellent to very good. Anything up to about -67 dBm is acceptable for streaming and calls. Below -70 dBm you should expect problems.
Can I find Wi-Fi dead zones without an app?
Yes. Walk through your home while streaming a video or running a continuous speed test, and note where it slows, buffers or disconnects. An app simply gives you more accurate numbers.
Why is my Wi-Fi weak even close to the router?
Interference, a crowded channel, an overloaded router, outdated firmware or a device with a weak internal antenna can all cause poor performance even at short range. Test with another device and check the channel settings.
Do Wi-Fi extenders really work?
They can, when placed correctly. They extend coverage into a nearby weak area, but they usually reduce speed on the extended connection. For whole-home coverage, mesh systems generally perform better.
Does a mesh system remove all dead zones?
A well-placed mesh system removes most dead zones in typical homes. Very thick walls or unusual layouts may still need a wired backhaul or an extra node.
Which band is better for avoiding dead zones?
The 2.4 GHz band reaches farther, while 5 GHz is faster at shorter range. Many homes get the best results with a dual-band or tri-band router or mesh system that manages both bands automatically.
How often should I test for dead zones?
Test whenever you move furniture, change your router, add a lot of new smart devices or notice a drop in performance. A quick check every few months keeps your coverage under control.
Final Thoughts
Dead zones are one of the most common and most frustrating home network problems, but they are very easy to diagnose once you measure instead of guess. Start with a simple walk test, confirm your findings with a Wi-Fi analyzer app and room-by-room speed tests, and build a heat map so you can see exactly where the signal fails and why.
From there, work through the fixes in order of cost: reposition the router, tune the settings, and only then add extenders, a mesh system, powerline adapters or a wired access point. With a clear picture of your home’s coverage and a targeted solution, you can enjoy fast, stable Wi-Fi in every room, from the living room to the garden.