


A portable electric heater is one of the simplest ways to warm up a bedroom, home office, or living room during cold weather. But after a few weeks of use, even the best heater starts collecting dust, pet hair, and lint. If you ignore it, the heater can run less efficiently, make strange smells, and in the worst cases become a safety risk.
The good news is that learning how to clean a portable electric heater is easy, takes less than 30 minutes, and needs only a few household items. This guide walks you through the full process, from safety preparation to the final test run, so you can keep your heater working well all winter long.
Why Cleaning Your Portable Heater Matters
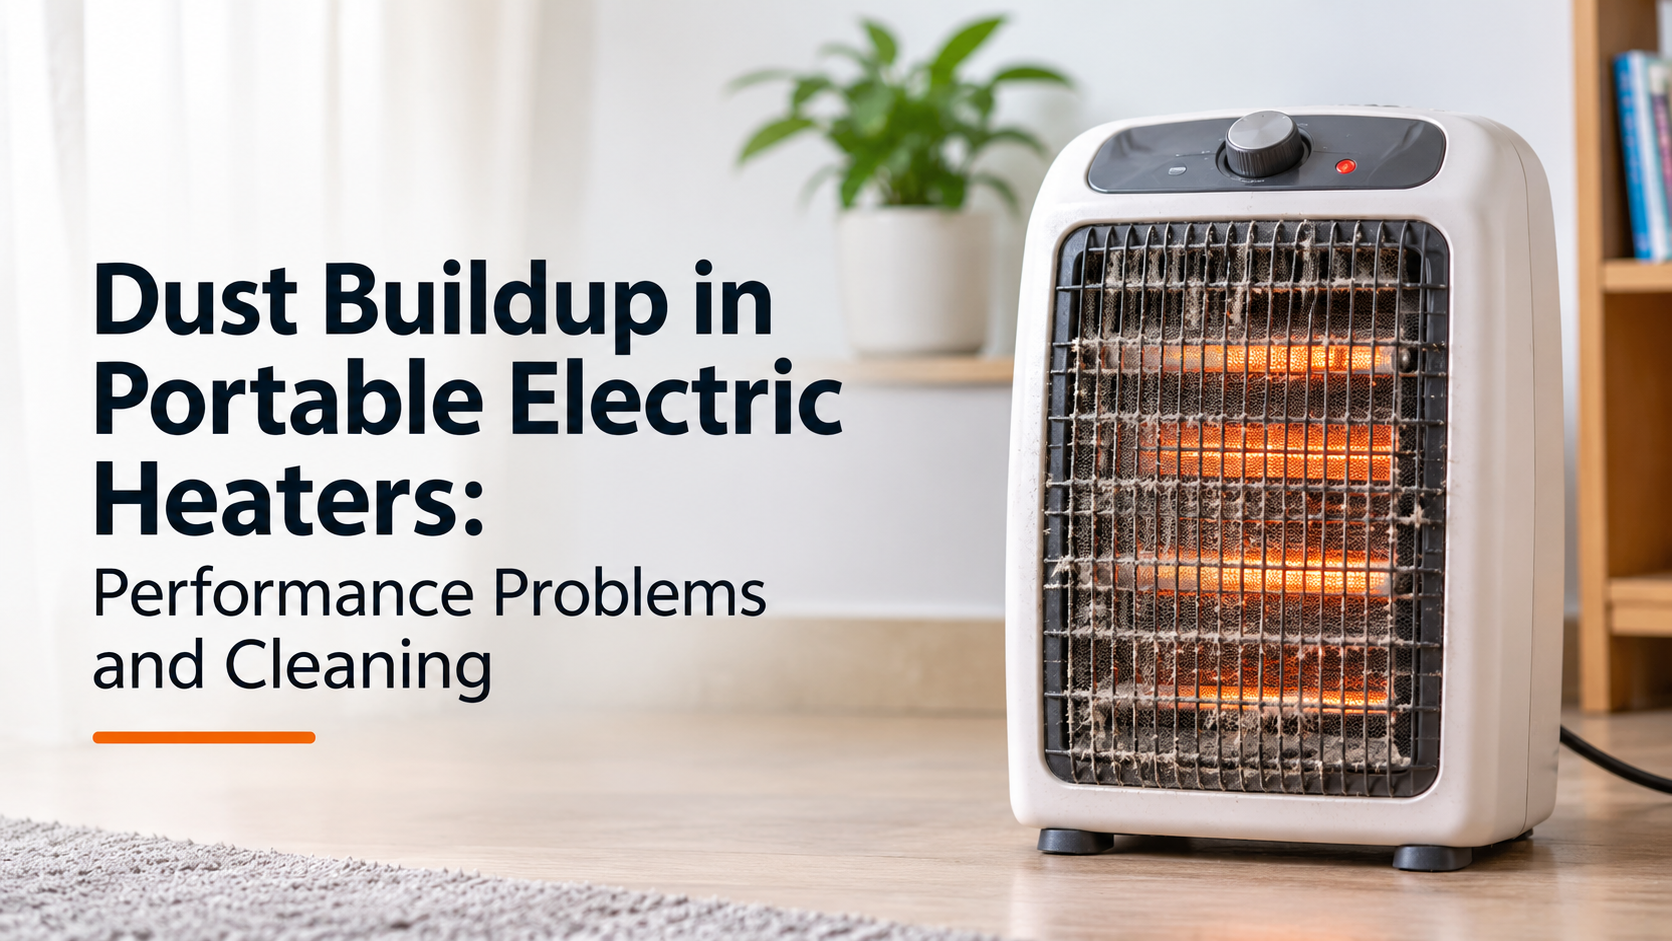
Heaters pull in room air, warm it, and push it back out. Anything floating in that air, including dust, fibers, and pet dander, ends up on the grille, the fan, and the heating element. Regular cleaning gives you several benefits:
- Better heating performance: Clear vents let air move freely, so the room warms faster.
- Lower fire risk: Built-up dust near a hot element can smolder or ignite.
- Fewer burning smells: That “burnt dust” odor you notice at the start of the season is usually dirt baking on the element.
- Quieter operation: A dirty fan has to work harder and often rattles or hums.
- Longer lifespan: Less strain on the motor and internal parts means fewer breakdowns.
- Cleaner indoor air: A heater full of dust can blow allergens back into your room.

Safety First: Before You Start
Electricity and water do not mix, so safety comes before anything else. Follow these rules every single time you clean your heater:
- Turn the heater off using its control knob or button.
- Unplug it from the wall socket. Never clean a heater that is still connected to power.
- Let it cool completely. Wait at least 30 minutes after use, because the element and metal parts stay hot longer than you think.
- Move it to a flat, well-lit area, such as a garage floor, balcony, or a table covered with a towel.
- Read the manual. Some models have special cleaning instructions or parts that should never be removed.
Tools and Supplies You Will Need
You do not need anything fancy. Gather these items before you begin:
- A vacuum cleaner with a soft brush or crevice attachment
- A soft-bristled brush, an old paintbrush, or a clean makeup brush
- A can of compressed air (optional, but very helpful)
- Two microfiber cloths: one slightly damp, one completely dry
- Cotton swabs for tight spots
- Mild dish soap and warm water
- A screwdriver, only if your model has screws holding the grille or filter
- Soft gloves and a dust mask if you are sensitive to dust
How to Clean a Portable Electric Heater: Step by Step
Step 1: Unplug and Let the Heater Cool Down
Disconnect the power cord, then leave the heater alone until every surface feels cool to the touch. This protects you from burns and electric shock. If the heater tips over easily, place it upright on a stable surface.
Step 2: Remove Loose Dust with a Dry Method First
Always start dry. Wet cleaning dust turns it into mud that sticks deeper into the vents. Use a vacuum with a soft brush attachment and gently go over the front grille, side vents, and back panel. Then use a soft brush to loosen dust from the slats and corners, and vacuum again.
If you have compressed air, give short bursts through the vents to push out dust from inside. Hold the can upright and keep it a few inches away. Do this outdoors or near an open window, because dust will fly out.
Step 3: Wipe the Exterior Body
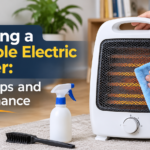
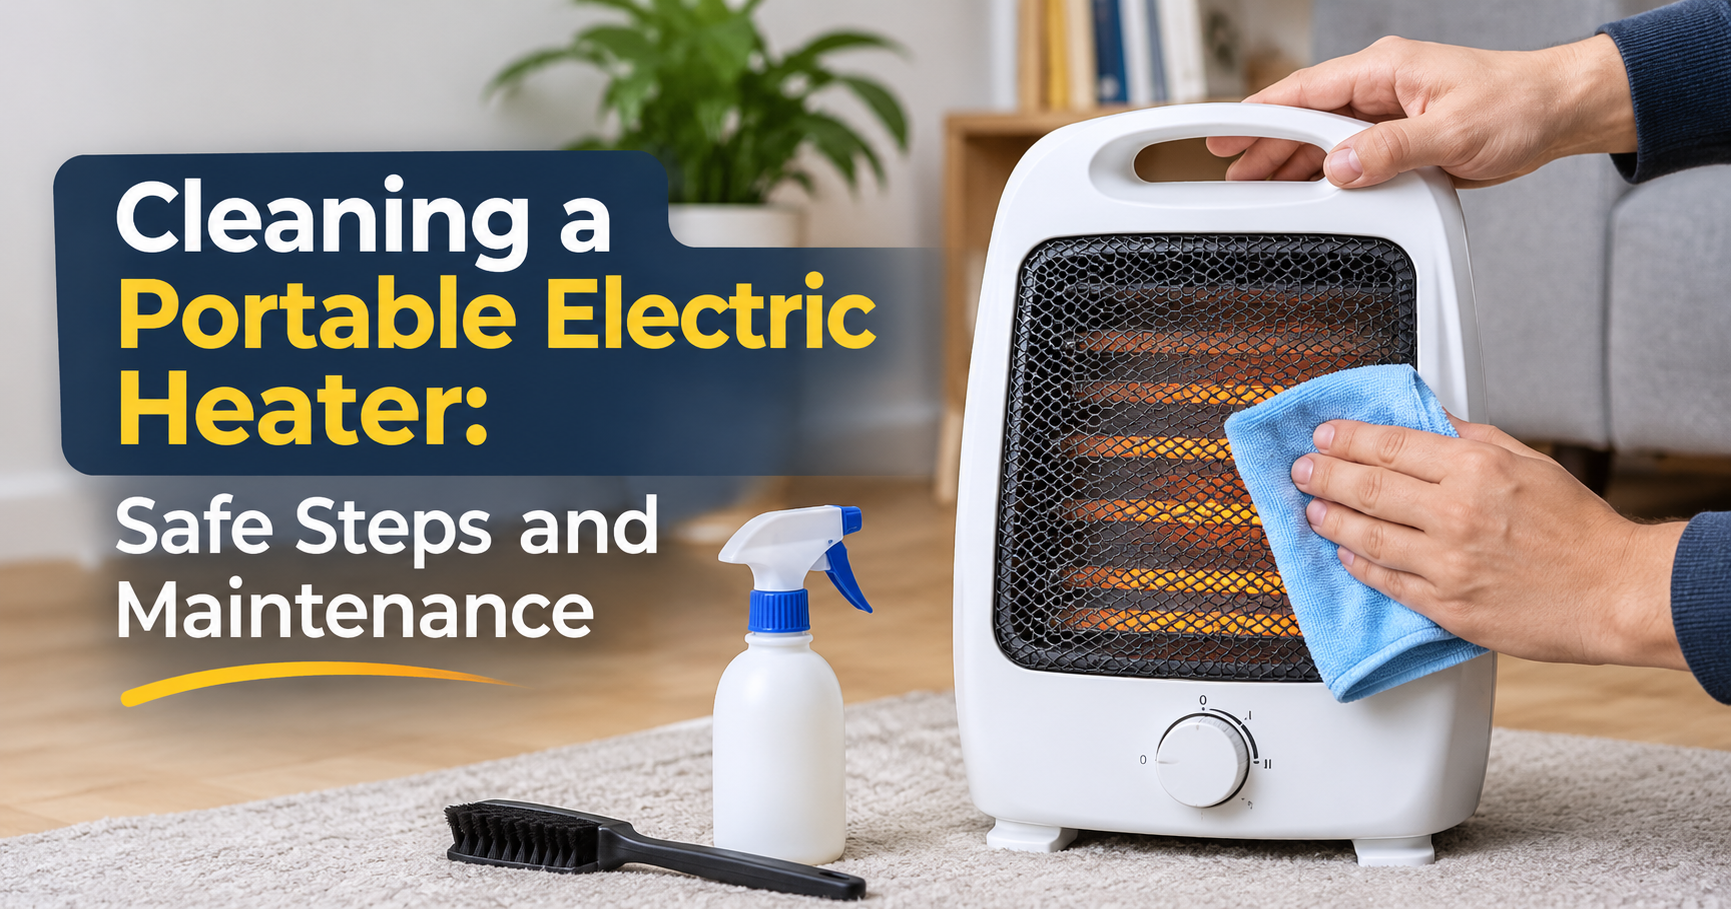
Mix a few drops of mild dish soap into warm water. Dip a microfiber cloth, then wring it out until it is barely damp. Wipe the outer casing, handle, base, and control panel. Do not let water drip into any opening. Follow up with a dry cloth so no moisture is left behind.
For buttons, knobs, and tiny gaps, use a cotton swab lightly dampened with soapy water. These areas collect finger oil and grime that a cloth often misses.
Step 4: Clean the Grille, Fan, and Air Filter
This is the step that makes the biggest difference in performance. What you do here depends on the type of heater you own:
- Heaters with a removable grille: Unscrew the grille carefully, wash it in soapy water, rinse, and let it dry fully before putting it back.
- Fan heaters: Use a soft brush or cotton swabs to remove lint from the fan blades. Do not bend the blades, because even a slight bend can cause noise and wobble.
- Heaters with a removable filter: Take the filter out, vacuum it, and if the manual allows, rinse it under lukewarm water. Dry it completely before reinstalling.
- Ceramic heaters: Gently vacuum dust off the ceramic plates through the grille. Never press hard on the ceramic elements.
Step 5: Let Everything Dry and Inspect the Heater
Wait at least 30 to 60 minutes so every part is fully dry. While waiting, check the power cord and plug for cracks, frayed wire, discoloration, or melted spots. Look at the tip-over switch area and make sure nothing is blocking it. If you see damage, stop using the heater and have it repaired or replaced.
Step 6: Reassemble and Do a Test Run
Put the grille and filter back in place, plug the heater into a wall outlet (never an extension cord), and run it on the lowest setting for a few minutes while you stay in the room. A very light dusty smell for the first minute is normal, but a strong chemical or burning smell is not. If it continues, turn the heater off and unplug it.
Cleaning Tips for Different Heater Types
| Heater Type | Main Cleaning Focus | Extra Tip |
|---|---|---|
| Ceramic fan heater | Fan blades, vents, ceramic plates | Vacuum gently; avoid pressing on the plates. |
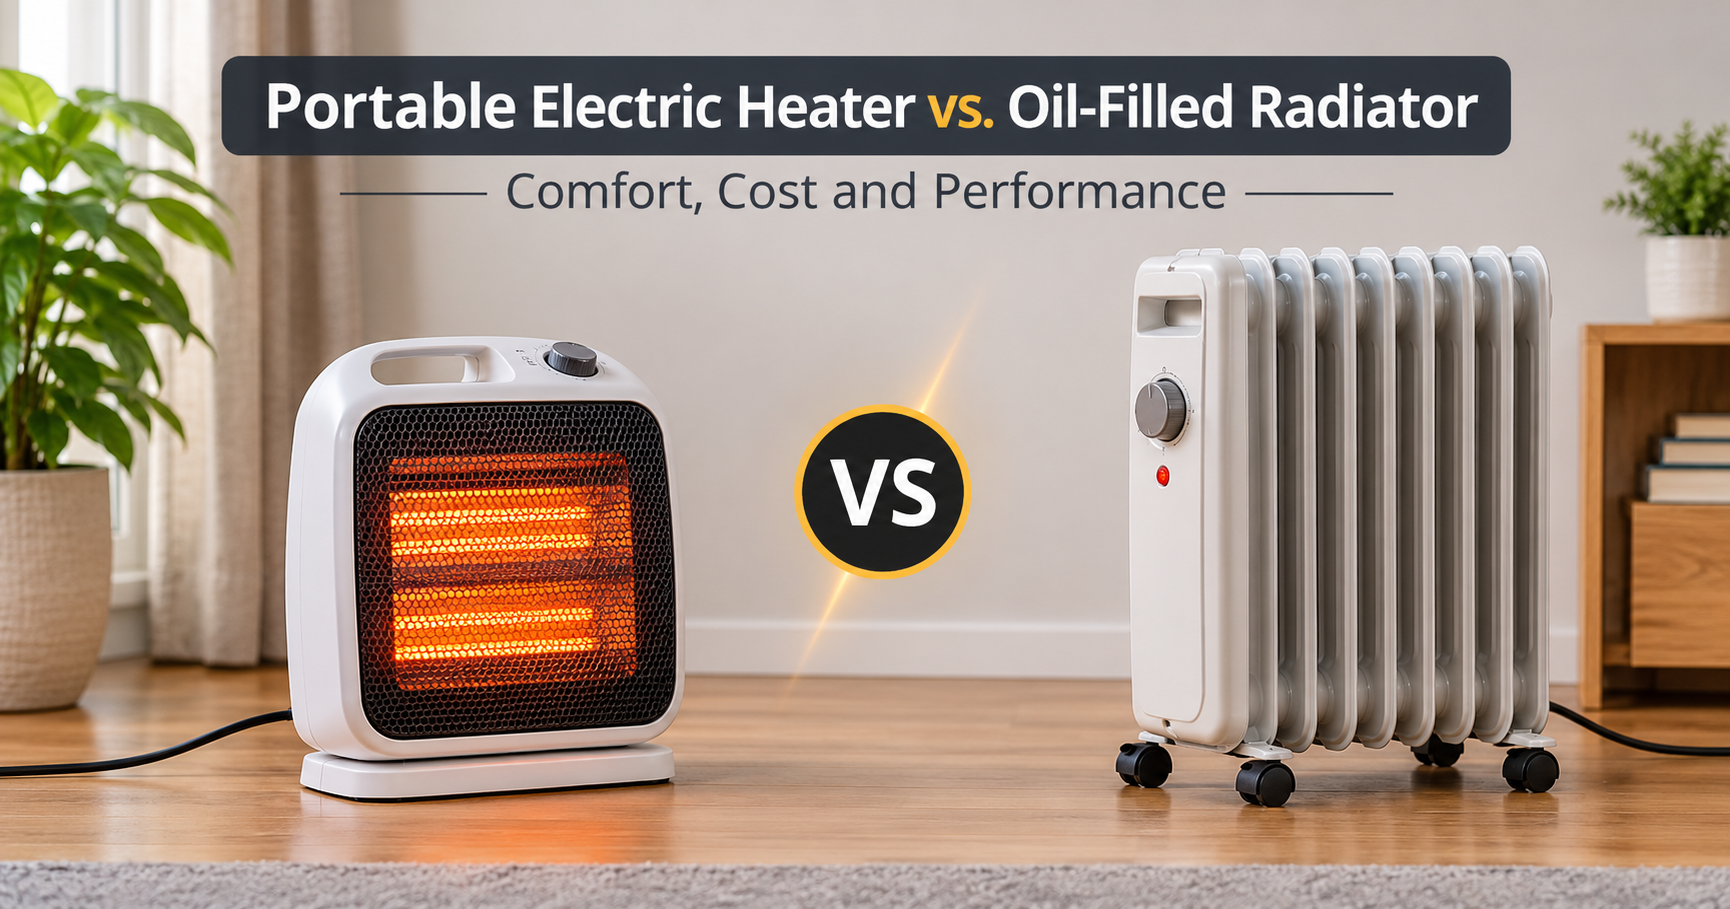
| Oil-filled radiator | Fins and exterior casing | Wipe between fins with a long, thin cloth; never open the oil chamber. |
| Infrared / quartz heater | Reflector and tubes | Wipe tubes only when fully cool, with a dry soft cloth. |
| Convection panel heater | Vent slots and back panel | Vacuum slots from the top and bottom. |
| Micathermic heater | Panels and wheels | Use a damp cloth on the casing only. |
How Often Should You Clean a Portable Electric Heater?
The right schedule depends on how often you use the heater and how dusty your home is. In general, follow the routine in the chart below. If you own pets, live near a busy road, or keep the heater on every day, shorten each interval.
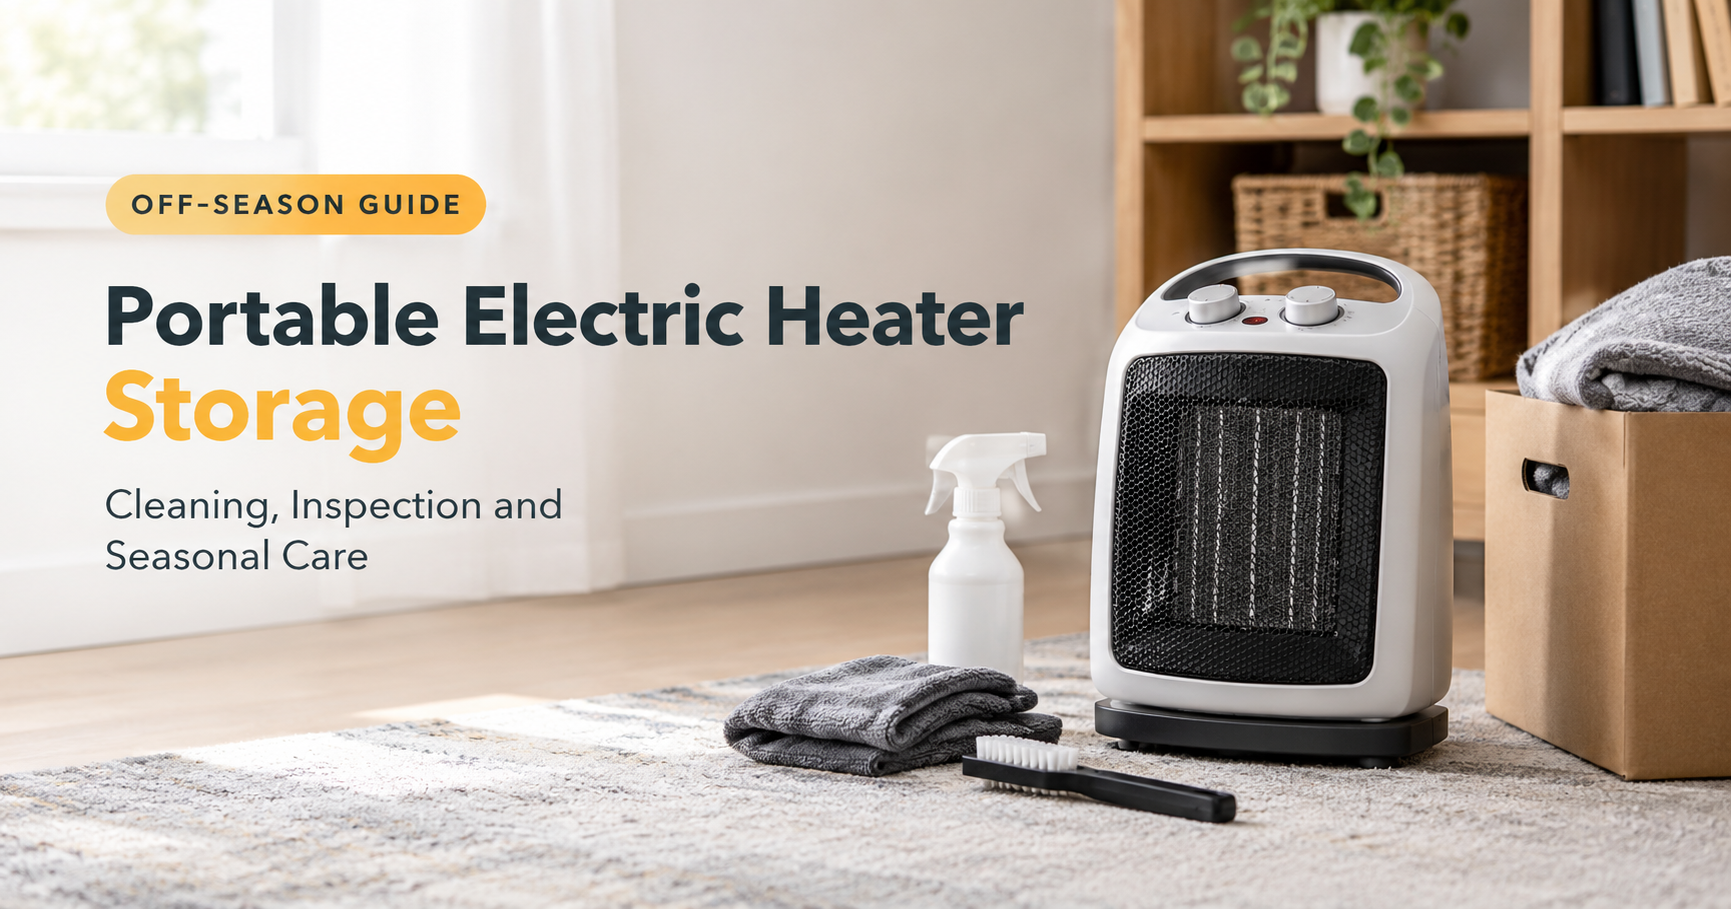
A full seasonal clean right before you bring the heater out of storage and again before you pack it away is the best habit you can build. It prevents that dusty burning smell and keeps stored heaters free from insects and moisture.
Common Cleaning Mistakes to Avoid

- Using too much water. Moisture inside the heater can short-circuit the electrical parts.
- Using strong chemicals. Bleach, solvents, and aerosol sprays can damage plastic and leave harmful fumes when heated.
- Cleaning while it is warm or plugged in. This is the most dangerous mistake of all.
- Forcing open sealed parts. Oil-filled heaters and sealed units should never be taken apart.
- Skipping the drying time. A damp heater should never be switched on.
- Poking the element with sharp tools. This can break the element or damage the coating.
Troubleshooting After Cleaning
Sometimes a heater still acts strangely right after a good cleaning. Here is what those signs usually mean:
- Light burning smell at startup: Leftover dust on the element. Run it on low for 10 to 15 minutes in a ventilated room and the smell should fade.
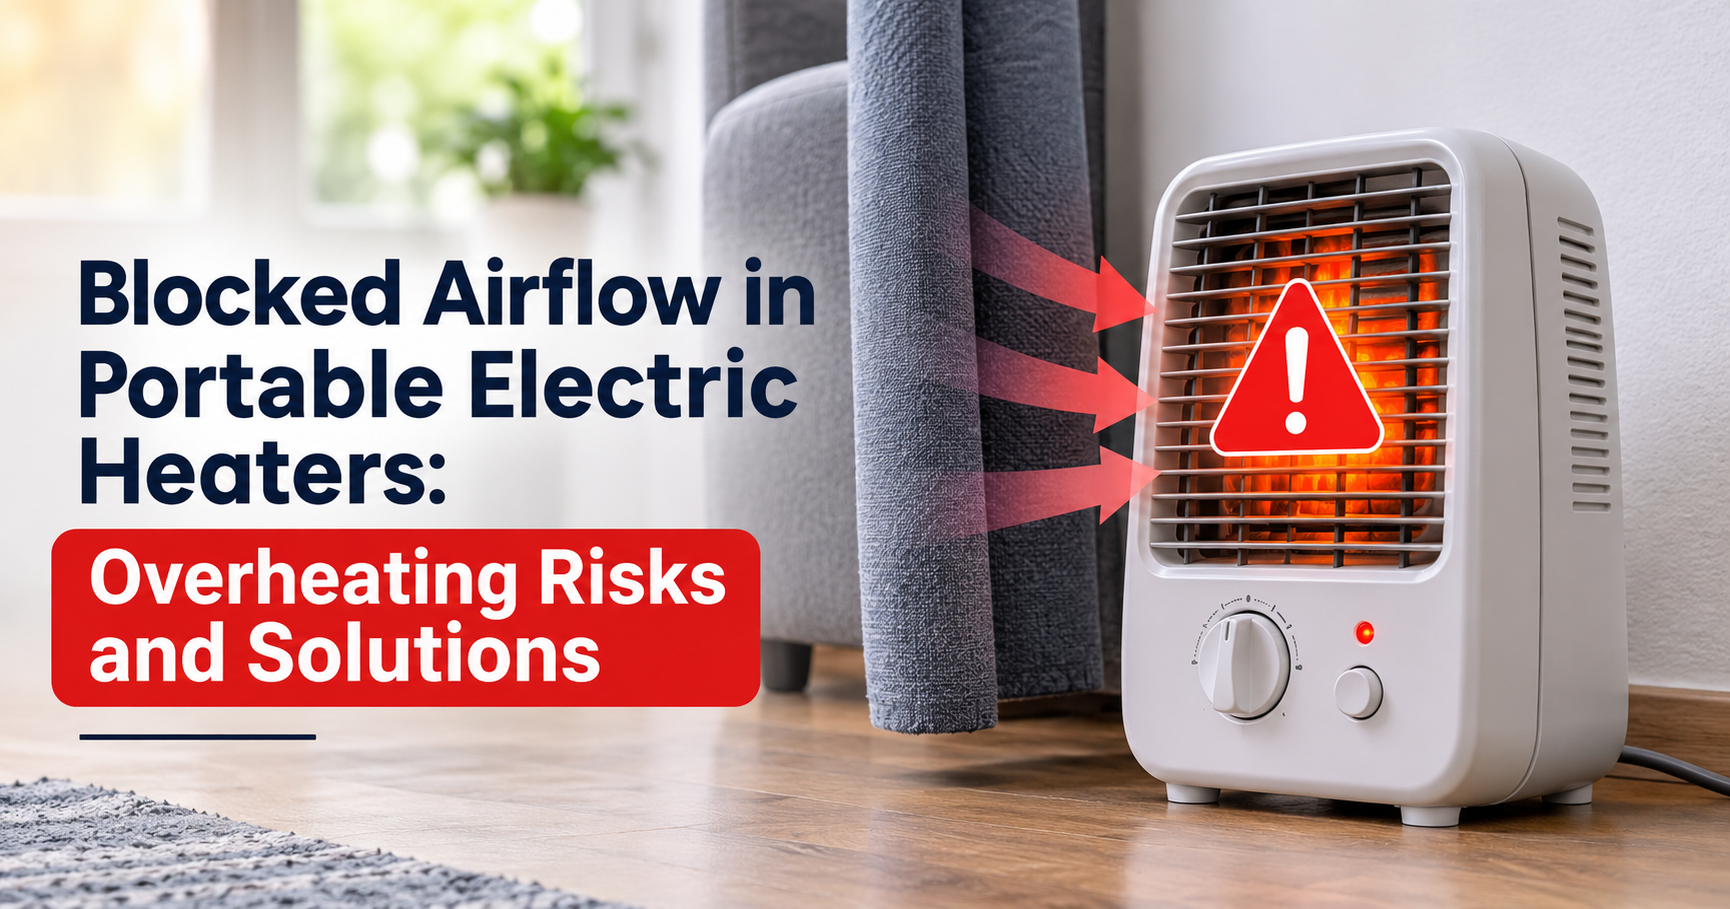
- Heater turns off by itself: The overheat protection may have been triggered by blocked vents. Make sure all vents are clear and the heater is not too close to walls or furniture.
- Fan is noisy or rattling: A blade may be loose, bent, or still coated with dust. Recheck the fan area, and if the noise continues, have it inspected.
- No heat at all: Check the outlet, the tip-over switch, and the thermostat setting. If these are fine, the heater may need professional repair.
Extra Tips to Keep Your Heater Clean Longer
- Place the heater on a hard, flat surface instead of a thick carpet that sheds fibers.
- Keep it at least three feet away from curtains, bedding, and furniture.
- Vacuum the floor around the heater regularly to reduce airborne dust.
- Store it in its original box or a breathable cover in a dry place during warm months.
- Wrap the cord loosely when storing to avoid kinks and internal wire damage.
When to Replace Instead of Clean
Cleaning cannot fix everything. Consider replacing the heater if you notice a damaged or discolored cord, a cracked housing, repeated shutdowns that cleaning does not solve, a persistent electrical or melting smell, sparks, or a heater that is more than eight to ten years old and no longer heats properly. When it comes to heating appliances, safety should always come before saving money.
Frequently Asked Questions
Can I wash a portable electric heater with water?
No. You should never submerge or spray a heater with water. Only the exterior can be wiped with a barely damp cloth, and a removable grille or filter can be washed if the manual allows it. Everything must be fully dry before use.
Why does my heater smell like burning dust?
Dust on the heating element burns off when the heater warms up. Cleaning the vents and element area before the season starts usually fixes this.
Is it safe to use compressed air on my heater?
Yes, when the heater is unplugged and cool. Use short bursts and keep the can upright, so liquid propellant does not spray inside.
Can I use vinegar to clean the heater?
A small amount of diluted vinegar on a cloth can remove stubborn marks on the exterior, but mild dish soap is gentler and safer for most plastics. Never apply any liquid to internal parts.
How do I clean an oil-filled heater?
Wipe the fins and casing with a slightly damp cloth once it is cool and unplugged. Do not open the oil reservoir, as it is sealed and no maintenance is needed inside.
How long does it take to clean a portable heater?
A basic clean takes about 15 to 20 minutes, plus drying time. A full deep clean with the grille and filter may take 30 to 45 minutes.
Final Thoughts
Knowing how to clean a portable electric heater is a small habit with big rewards. A few minutes of safe, regular care keeps your heater efficient, quiet, and far less likely to cause problems. Always unplug and cool the unit first, start with dry dust removal, use only a barely damp cloth, and let every part dry completely before you plug it back in. Follow these steps at the start and end of every heating season, and your portable heater will keep your space warm and safe for many winters to come.