
You connect a brand-new external monitor to your Windows PC, expecting a crisp, comfortable workspace, and instead the text looks soft, fuzzy or slightly smeared. Icons look fine, videos look fine, but reading emails, spreadsheets or code gives you eye strain within minutes. If this sounds familiar, you are not alone. Blurry text on an external monitor is one of the most common display complaints on Windows 10 and Windows 11, and the good news is that in most cases it can be fixed in a few minutes without buying anything.
This guide explains why text turns blurry on external displays, then walks you through every proven fix in the order that solves the problem fastest. We also cover how monitor size, resolution and cables affect sharpness, so you can make a smarter choice if hardware turns out to be the real culprit.
Quick Answer
The most frequent causes are (1) the monitor is not running at its native resolution, (2) display scaling is set to an odd value or differs between screens, (3) ClearType is not tuned for that monitor, and (4) the cable, adapter or color format is degrading the signal. Check them in that order.
Why Does Text Look Blurry on an External Monitor?
A monitor is a grid of tiny physical pixels. Text looks sharp only when Windows draws each letter so that its edges line up with that grid. Anything that forces Windows or the monitor to stretch, shrink or re-sample the image puts those edges between pixels, and the result is soft, blurry text. Here are the usual triggers:
- Non-native resolution: running a 4K monitor at 1080p, or a 1440p monitor at 1600 x 900, makes the monitor scale the image.
- Fractional or custom scaling: values such as 110%, 135% or 175% force many apps to resize their rendering.
- Mixed DPI setups: a laptop at 150% scaling paired with an external screen at 100% makes apps blur when you drag them between displays.
- ClearType mismatch: Windows text smoothing may not be tuned for the new panel.
- Poor signal path: low-quality cables, cheap adapters or a wrong color format (chroma subsampling) soften fine detail.
- Outdated graphics drivers: Windows may fall back to a generic driver that handles scaling poorly.
- Monitor picture settings: sharpness filters, overscan or "enhancement" modes alter text edges.
- Low pixel density: a large screen with a low resolution simply has bigger, coarser pixels.

Before You Start: Quick Preparation
Spend one minute on these checks. They prevent wasted effort and help you identify the real cause faster:
- Confirm the blur appears on the external monitor only. If your laptop screen is also blurry, the problem is more likely Windows scaling or a driver.
- Take note of your monitor’s native resolution, usually printed on the box or in the specifications (for example 1920 x 1080, 2560 x 1440 or 3840 x 2160).
- Note which cable and port you are using: HDMI, DisplayPort, USB-C or an adapter.
- Restart the PC once with the monitor connected so Windows detects it cleanly.

Fix 1: Set the Monitor to Its Native Resolution
This is the single most important fix. LCD and OLED panels are designed to show one resolution perfectly. Any other setting forces interpolation, which blurs text immediately.
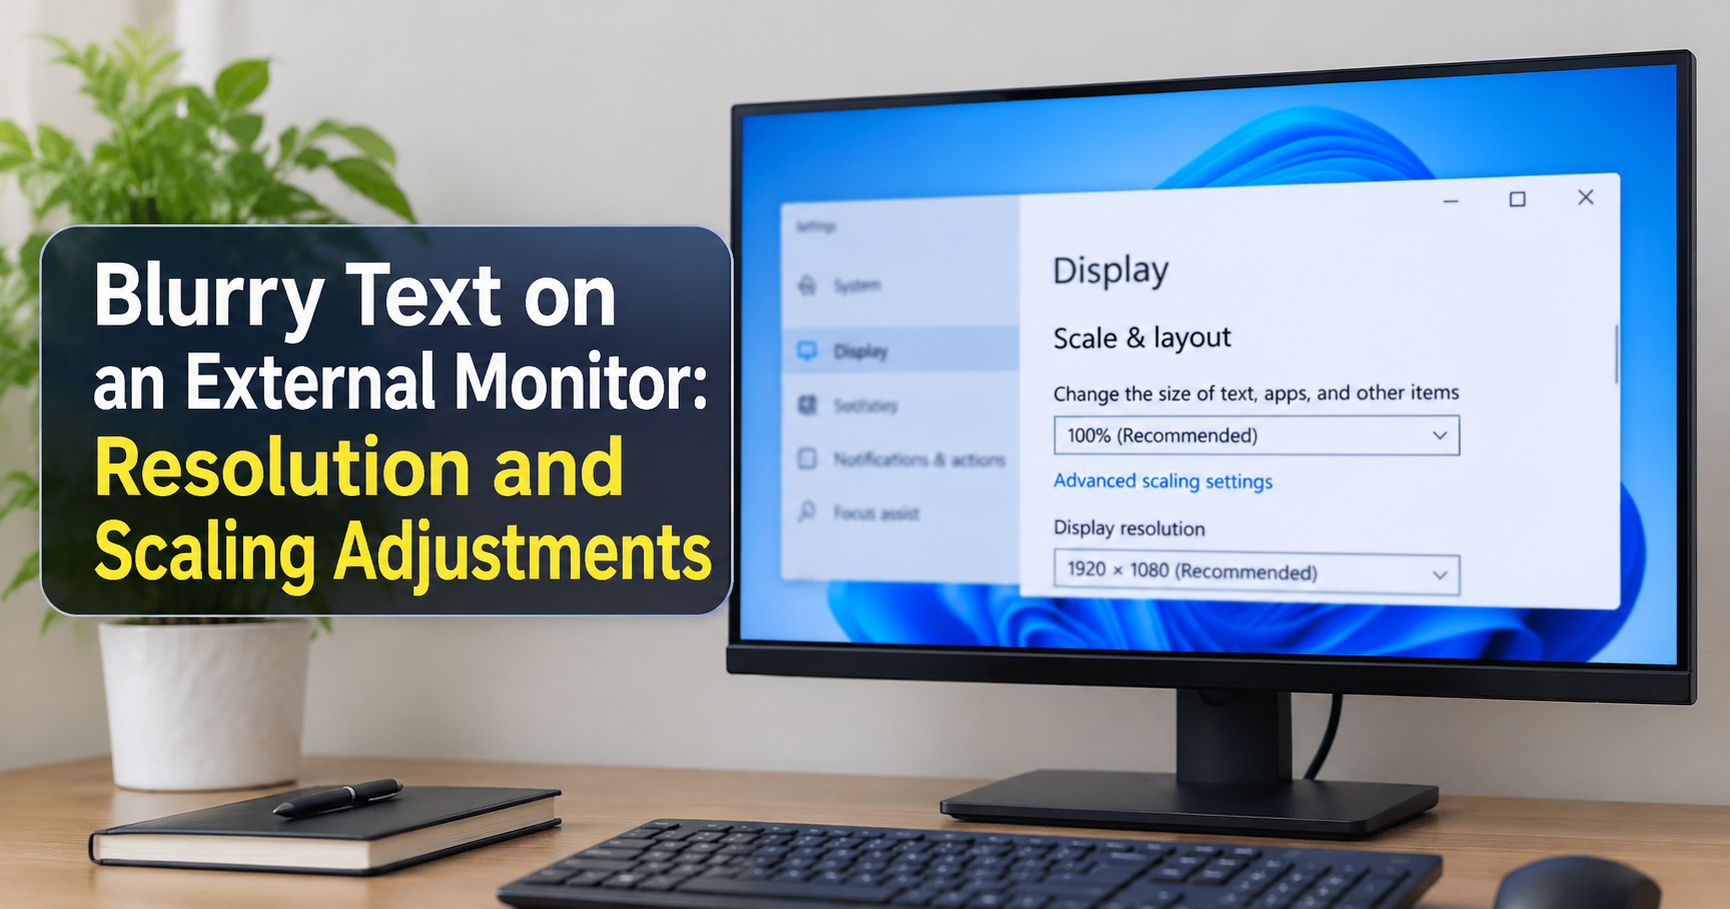
- Right-click an empty area of the desktop and choose Display settings.
- At the top, click the picture of the external monitor (use Identify if you are unsure which number it is).
- Scroll to Display resolution and pick the option marked (Recommended).
- Confirm the change when Windows asks, then check the text again.
Tip
If the native resolution is missing from the list, the problem is usually the cable, adapter or driver. An old HDMI cable or a cheap converter can limit available resolutions. Jump to Fix 5 and Fix 7 in that case.
Fix 2: Use Clean Scaling Values and Sign Out
On high-resolution monitors, Windows enlarges text with display scaling. Standard steps such as 100%, 125%, 150% and 200% work best. Unusual percentages cause many programs to render at one size and then stretch the result, which blurs text.
- In Display settings, select the external monitor.
- Under Scale, choose a preset value instead of a custom one. For a 27-inch 4K screen, 150% is a common comfortable choice; for a 27-inch 1440p screen, 100% to 125% usually works well.
- Sign out and sign back in. Some apps only pick up the new scale after a fresh login.
If you previously used custom scaling, remove it. Open Scale and, if you see a custom scaling value, turn it off and select a standard percentage instead. Custom scaling is a classic cause of persistent blur.
Let Windows Fix Blurry Apps Automatically
Inside the Scale section, open Advanced scaling settings and switch on Let Windows try to fix apps so they’re not blurry. This helps older desktop programs that do not understand modern high-DPI screens. You may need to sign out and back in before it takes effect.
Fix 3: Run the ClearType Text Tuner
ClearType is the Windows technology that smooths the edges of text by using the individual red, green and blue sub-pixels of an LCD panel. A new monitor may need a quick recalibration.
- Press the Windows key and type Adjust ClearType text, then open the result.
- Make sure Turn on ClearType is ticked and click Next.
- If Windows asks which monitor to tune, choose the external one. With several screens you can tune them one by one.
- Follow the prompts and pick the sample text that looks clearest each time, then click Finish.
Also confirm that font smoothing is enabled. Press the Windows key, search for Adjust the appearance and performance of Windows, and under Visual Effects make sure Smooth edges of screen fonts is ticked.
Good to Know
ClearType is designed around the standard RGB stripe layout. Some newer panels, especially certain OLED and quantum-dot designs, use different sub-pixel arrangements and may show slight color fringing around text. Tuning ClearType and using a higher pixel density both reduce this effect.
Fix 4: Fix a Single Blurry App with the High DPI Override
Sometimes only one program looks blurry while everything else is crisp. That app is probably not fully DPI-aware. You can change how Windows scales it:
- Right-click the program’s shortcut or .exe file and choose Properties.
- Open the Compatibility tab and click Change high DPI settings.
- Tick Override high DPI scaling behavior.
- In the drop-down, try Application first. If the app looks wrong, try System (Enhanced).
- Click OK twice and relaunch the program.
Setting it to Application tells Windows to stop stretching the app and let the program draw itself, which is usually the sharpest option for apps that support it.
Fix 5: Check the Cable, Port and Adapter
A weak or mismatched connection can limit resolution and refresh rate or force the graphics card into a lower-quality signal mode. Use this table to choose the right connection:
| Connection | Best For | Watch Out For |
|---|---|---|
| DisplayPort | 1440p and 4K monitors at high refresh rates on desktops and many laptops | Use a certified cable and press it in fully; very long cheap cables can cause instability |
| HDMI | General use, TVs, and monitors without DisplayPort | Older HDMI versions may not carry 4K at 60 Hz; use a cable rated for the version your monitor needs |
| USB-C / Thunderbolt | Thin laptops and single-cable docks | The port must support video output (DisplayPort Alt Mode or Thunderbolt) |
| VGA / DVI with adapters | Very old monitors only | Analog VGA or low-quality converters often cause soft, ghosted text |
If you are using an adapter or a dock, try a direct cable from the PC to the monitor as a test. If text becomes sharper, the adapter was the bottleneck. Also try a different port on the graphics card or laptop.
Check the Refresh Rate
Go to Display settings > Advanced display, select the external monitor and check Choose a refresh rate. Pick the highest rate your monitor officially supports. An unusually low rate can indicate a bandwidth problem with the cable.
Fix 6: Correct the Color Format and TV Settings
Text is made of thin, high-contrast lines, which makes it very sensitive to chroma subsampling. When a connection uses a format such as 4:2:2 or 4:2:0 to save bandwidth, color detail is reduced and small text can look fuzzy or tinted at the edges. This is especially common with 4K over HDMI and when using a TV as a monitor.
- NVIDIA graphics: open the NVIDIA Control Panel, go to Change resolution, choose Use NVIDIA color settings, and set the output color format to RGB with full dynamic range.
- AMD graphics: in AMD Software, open Settings > Display and set the color pixel format to RGB 4:4:4 Pixel Format PC Standard (Full RGB).
- Intel graphics: in the Intel Graphics Command Center, check the display color settings and keep the full-range RGB option if it is offered.
- Using a TV: switch the HDMI input to PC mode (some TVs call it Game mode or rename the input to PC), turn off picture sharpening and noise reduction, and set the aspect option to 1:1 / Just Scan / Screen Fit so no overscan is applied.
If 4K at 60 Hz forces 4:2:0 on your cable, lower the refresh rate to 30 Hz as a test, or switch to a higher-bandwidth cable or DisplayPort. If RGB becomes sharp, the cable or port was the limit.
Fix 7: Update or Reinstall the Graphics Driver
A missing or generic driver is a surprisingly common cause. Windows may install a basic display adapter that supports the screen but does not handle scaling and color output properly.
- Right-click the Start button and open Device Manager.
- Expand Display adapters. If you see Microsoft Basic Display Adapter, a proper driver is missing.
- Download the latest driver from your graphics card or laptop manufacturer and install it.
- Restart the computer and recheck the resolution and scaling settings, because a driver update can reset them.
Run Windows Update as well, since optional driver and monitor-profile updates are sometimes delivered there.
Fix 8: Reset the Monitor’s On-Screen Menu
The monitor itself can add blur through its own image processing. Use the physical buttons or joystick to open the on-screen menu and review these options:
- Sharpness: reset it to the factory default. Extreme values, either too low or too high, can soften text or create halos.
- Picture mode: choose Standard, sRGB or Office instead of cinema, movie or dynamic modes.
- Dynamic contrast, smart enhancement or motion smoothing: turn these off.
- Aspect or scaling: set it to 1:1 or Full so the picture is not stretched.
- Factory reset: if you are unsure what was changed, restore all defaults and start again.

Fix 9: Solve Mixed Scaling Between Two Screens
Many people use a laptop with a high-resolution built-in screen at 150% scaling and an external monitor at a different value. When an app window moves from one screen to the other, Windows has to rescale it, and some older programs appear blurry on the second screen.
- Where possible, set similar scaling on both screens. Matching values removes most rescaling problems.
- Choose the screen you use most as your main display, and open important apps there.
- If an app is blurry after moving between screens, close and reopen it on the screen where you want to use it. Many apps recalculate sharpness only at launch.
- Keep Windows and your apps updated; newer versions handle different scaling values on different monitors much better.
Is It the Monitor Itself? Understanding Pixel Density
If every software fix is done and text is still not as crisp as you would like, the cause may be pixel density, measured in pixels per inch (PPI). A 27-inch monitor running at 1920 x 1080 has only about 82 PPI, so each pixel is large and curved letters look jagged or soft even at native resolution. This is not a fault, simply a limit of the panel.

| Size and Resolution | Approx. PPI | Text Sharpness for Daily Work |
|---|---|---|
| 24″ Full HD (1920 x 1080) | 92 | Acceptable for general use |
| 27″ Full HD (1920 x 1080) | 82 | Noticeably soft for reading and office tasks |
| 27″ QHD (2560 x 1440) | 109 | Good balance of sharpness and price |
| 32″ 4K (3840 x 2160) | 138 | Very sharp with scaling around 150% |
| 27″ 4K (3840 x 2160) | 163 | Excellent, close to a high-end laptop display |
What to Look for in a Monitor for Sharp Text
- Resolution matched to size: aim for about 100 PPI or higher. 1440p suits 24 to 27 inches, and 4K suits 27 to 32 inches.
- Panel type: IPS panels usually offer clean text and wide viewing angles. Check reviews for text clarity if you are considering OLED or unusual sub-pixel layouts.
- Connectivity: choose a model with DisplayPort or a modern HDMI version that supports your resolution and refresh rate, and use the cable included or a certified one.
- Surface finish: a matte or anti-glare coating reduces reflections that can make text harder to read, while very glossy screens can look sharper in dim rooms.
- Eye comfort features: flicker-free backlighting and a height-adjustable stand help during long work days.
Troubleshooting by Symptom
| What You See | Most Likely Cause | Try First |
|---|---|---|
| Everything slightly soft, including icons | Non-native resolution | Set the recommended resolution (Fix 1) |
| Text blurry in some apps only | App not DPI-aware | High DPI override or advanced scaling fix (Fix 2 and Fix 4) |
| Blurry only after moving a window between screens | Mixed scaling values | Match scaling or reopen the app (Fix 9) |
| Colored edges around letters | ClearType or panel sub-pixel layout | Run the ClearType tuner (Fix 3) |
| Fuzzy text on a TV or 4K over HDMI | Chroma subsampling or TV picture mode | Set RGB output and PC mode (Fix 6) |
| Ghosting or shimmering text | Poor cable, adapter or VGA input | Use a direct DisplayPort or good HDMI cable (Fix 5) |
| Text sharp but small and hard to read | Scaling too low for the screen | Raise scaling to a standard higher value (Fix 2) |
Frequently Asked Questions
Why is my external monitor text blurry but my laptop screen is sharp?
The laptop screen is usually set up correctly at its native resolution by default. An external monitor often connects at a non-native resolution, a different scaling value or a lower-quality signal, so text becomes soft until the settings are adjusted.
Does a 4K monitor always look sharper than a 1080p one?
Only when it runs at its native resolution with a suitable scaling value. A 4K monitor set to 1080p can look worse than a true 1080p monitor because the picture is stretched. At the correct settings, 4K gives much finer text.
Is HDMI or DisplayPort better for sharp text?
Both can deliver sharp text when the cable and ports support your resolution and refresh rate. DisplayPort is often easier for high resolutions on monitors, while HDMI works well when its version supports the signal you need.
Should I turn off scaling to make text sharper?
Not usually. Using 100% scaling on a high-resolution screen makes text tiny, which hurts readability. Choose a standard scale such as 125% or 150% and rely on proper DPI-aware apps for clean rendering.
Can a bad cable really make text blurry?
Yes. A damaged, very long or low-quality cable can reduce bandwidth, force a lower resolution or color format, or add noise to the signal, all of which affect fine text.
Will a driver update change my settings?
It can. After a graphics driver update, check the resolution, refresh rate, scaling and color format again, because they may reset to default values.
Final Thoughts
Blurry text on an external monitor looks alarming, but it is rarely a sign of a defective screen. In most cases it comes down to a small group of settings: native resolution, clean scaling, ClearType, a healthy cable connection with RGB color output, an up-to-date graphics driver and a sensible monitor menu configuration. Work through the fixes in order, test after each change, and you will usually find the culprit within minutes.
If everything is configured correctly and text still feels soft, the display may simply have too little pixel density for its size. In that case, upgrading to a monitor with higher resolution and good connectivity is the most reliable path to the crisp, comfortable text you expected from the start.