


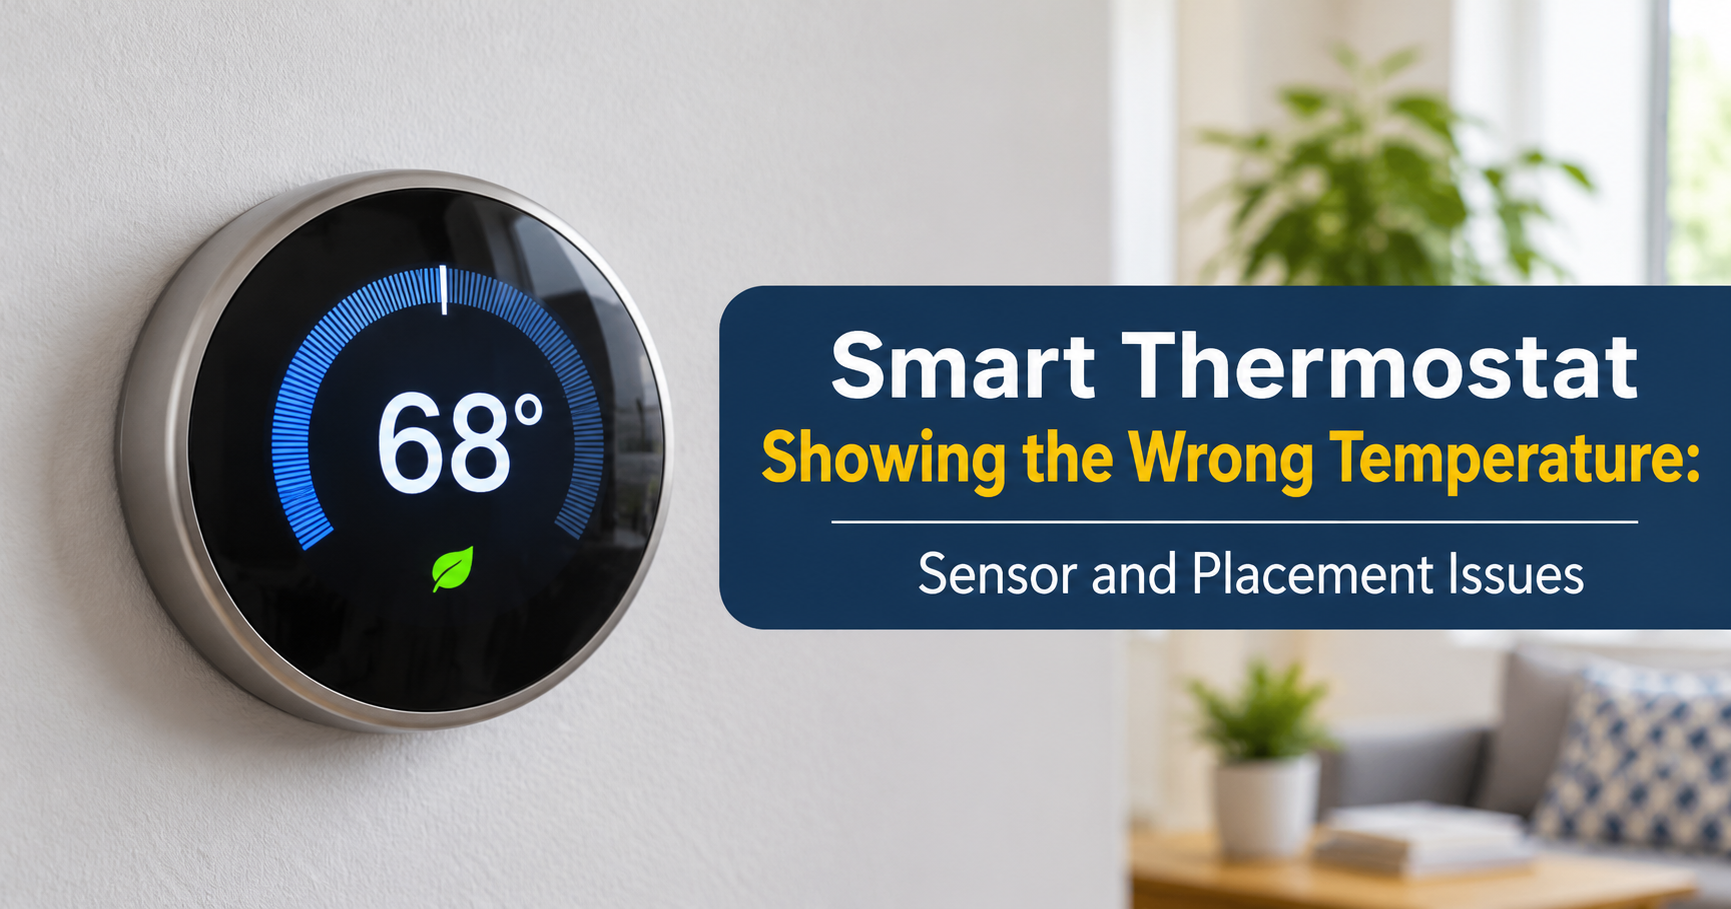
You set your smart thermostat to 70°F, yet the room feels warmer, or the display shows a number that disagrees with the thermometer on your shelf. A smart thermostat temperature reading that is wrong is one of the most common complaints from owners, and it directly affects comfort, energy bills, and how well your heating and cooling system runs. The good news is that in most cases the problem is simple to find and fix without any special tools.
In this complete guide you will learn why a smart thermostat shows an incorrect temperature, how to test its accuracy properly, step-by-step fixes, how calibration works, and when it makes sense to replace the device or call a professional.
How a Smart Thermostat Measures Temperature
Almost every smart thermostat uses a small electronic temperature sensor, usually a thermistor, mounted inside the housing. The sensor measures the air that passes through tiny vents in the casing. The device then compares that number with your target setting and tells your furnace or air conditioner to turn on or off. Because the sensor measures only the air right around the thermostat, anything that changes the temperature at that exact spot can make the reading differ from the rest of the room.
Most quality models are accurate to within about one degree under normal conditions. A consistent gap of two degrees or more usually points to a cause you can correct.
Why Your Smart Thermostat Reading Is Wrong: 9 Common Causes
1. Poor Placement
Placement is the number one reason for inaccurate readings. A thermostat mounted in direct sunlight, near a heating vent, close to a kitchen, or beside an exterior door will read differently from the average temperature of the living space.

2. Direct Sunlight Through a Window
Even a short period of sun on the casing can add several degrees to the reading. This is especially common in the afternoon on walls that face west or south.
3. Drafts Behind the Wall
A hole in the wall where the wires enter can allow cold or warm air from inside the wall cavity to flow across the sensor. This causes readings that swing up and down for no clear reason. Sealing the opening with a small piece of insulation or non-hardening caulk often solves it.
4. Dust and Debris
Dust, pet hair, and tiny insects can block the vents or coat the sensor, slowing its response. A dirty thermostat can lag behind real changes in room temperature.
5. Internal Heat From the Device
The screen, Wi-Fi radio, and processor generate a little heat. Manufacturers compensate for this in software, but a bright display, a weak connection that keeps retrying, or a failing component can make the compensation less accurate.
6. Low Battery or Weak Power
Models that use batteries or share power from the heating system wires (often called power stealing) can behave strangely when voltage is low. Missing a common wire, known as a C-wire, is a frequent cause of unstable readings, random restarts, and screen glitches.
7. Outdated Firmware or Software Bugs
A software fault can display the wrong value or apply the wrong correction. Manufacturers regularly release updates that improve sensor handling, so an old version may still contain a known problem.
8. Remote Sensor or Room Averaging Settings
Some smart thermostats support extra room sensors and can average several readings or follow one chosen room. If the active sensor is in a different room, the main display may not match the space you are standing in. This is a setting, not a fault.
9. Faulty Sensor or Hardware Failure
If all of the above are ruled out and the reading is still far off, the sensor may be defective. This is less common but does happen, particularly with older devices or units that have suffered moisture or power surges.
How to Test Whether Your Thermostat Is Really Inaccurate
Before changing anything, confirm that the thermostat is truly wrong. Use this simple method:
- Buy or borrow a reliable digital room thermometer. Even an inexpensive one is useful for comparison.
- Place it about 5 feet above the floor, a few inches from the thermostat, but out of sunlight and away from vents.
- Wait at least 15 to 20 minutes so both devices settle to the same air temperature.
- Compare the numbers. Repeat the test at a different time of day, such as morning and evening.
- If the difference is steady at two degrees or more, the thermostat needs attention. If it changes with sunlight or time of day, the cause is probably placement or drafts.
Tip: To check the reference thermometer itself, place it next to a second thermometer. If they agree, you can trust the comparison.
Step-by-Step Fixes
Step 1: Restart the Thermostat
A restart clears temporary software glitches. Use the restart option in the settings menu if your model has one. Otherwise, remove the display from its base for a few seconds and reattach it, or briefly switch off the heating and cooling system at the breaker.
Step 2: Clean the Sensor Area
Gently remove the front cover if the manual allows it. Use a soft brush or a can of compressed air to clear dust from the vents and the circuit board. Never use liquid cleaners on the electronics.
Step 3: Move Away From Heat, Sun and Drafts
If the thermostat sits in a bad location, consider relocating it to an interior wall in the room you use the most. If moving it is not practical, shade the wall, close a nearby vent partially, or use remote sensors that you place in better spots. For a full relocation, hire an electrician or HVAC technician unless you are experienced with low-voltage wiring.
Step 4: Seal the Wall Opening
Turn off power to the system, remove the thermostat from its base, and plug the hole around the wires. This stops hidden airflow from affecting the sensor.
Step 5: Replace Batteries and Check Power
Install fresh batteries if your model uses them. If it relies on the heating system for power, check whether a C-wire is available or install a power adapter kit recommended by the manufacturer. Stable power improves both accuracy and Wi-Fi reliability.
Step 6: Update Firmware
Open the companion app and check for updates. Make sure the thermostat is connected to Wi-Fi so it can download and install them automatically.
Step 7: Review Sensor and Schedule Settings
If you use remote sensors, confirm which one is active and whether averaging is enabled. Also check that the temperature unit (Fahrenheit or Celsius) is set correctly, because a wrong unit can look like a very large error.
Step 8: Apply a Calibration Offset
Many smart thermostats allow you to adjust the displayed temperature by a set number of degrees. The menu may be called temperature offset, calibration, or sensor adjustment, and its location differs between brands. If your thermostat shows 74°F when the reference thermometer shows 70°F, set a negative offset of 4 degrees.

Calibration is a good fix for a small, stable error. It is not a cure for a sensor that jumps around or an installation problem, so solve placement and power issues first.
Step 9: Factory Reset as a Last Software Option
If nothing else works, a factory reset restores default settings and removes corrupted data. Write down your schedules and preferences first, because you will need to set them again.

How Wrong Readings Affect Your Energy Bills
When the thermostat believes the room is warmer or cooler than it really is, it shuts the system off too early or runs it too long. A reading that is only three degrees off can noticeably raise energy use over a season, and it can also cause uneven comfort, short cycling, and extra wear on the furnace or air conditioner. Fixing accuracy is one of the cheapest ways to reduce waste.
When to Call an HVAC Professional or Replace the Thermostat
- The reading is still off after cleaning, relocating, updating, and calibrating.
- The display freezes, restarts repeatedly, or shows error codes.
- You notice burning smells, damaged wires, or moisture inside the housing.
- The heating or cooling system does not respond properly even when the reading looks correct.
- The thermostat is more than 8 to 10 years old and no longer receives software updates.
A technician can test the wiring, check voltage, and confirm that the problem is the thermostat and not the heating or cooling equipment.
Features to Look for When Buying a New Smart Thermostat
If you decide to upgrade, choose a model that helps you avoid these problems in the future:
- Remote room sensors so you can measure the rooms you actually use.
- Manual calibration or offset control for easy fine-tuning.
- Compatibility with your system, including whether it needs a C-wire or comes with a power adapter.
- Automatic software updates and a track record of ongoing manufacturer support.
- Clear energy reports that help you notice unusual behavior early.
- Reliable Wi-Fi performance with support for the voice assistant you use.
Tips to Keep Your Thermostat Accurate Long Term
- Dust the vents on the casing every few months.
- Keep furniture, curtains, and electronics away from the thermostat.
- Replace batteries on schedule, even if the device has not warned you yet.
- Check the reading against a reference thermometer at the start of each heating and cooling season.
- Install updates promptly and keep the Wi-Fi signal strong near the device.
Frequently Asked Questions
Why does my smart thermostat show a different temperature than my room thermometer?
The two devices measure air in different spots. Sun, drafts, nearby vents, and internal heat from the thermostat can all cause differences. Place both side by side for 15 to 20 minutes to get a fair comparison.
Can I calibrate any smart thermostat?
Many models offer a temperature offset setting, but not all of them do. Check the settings menu or the manual. If no such option exists, improve placement or use a remote sensor instead.
How accurate should a smart thermostat be?
Most are accurate within about one degree Fahrenheit. Larger consistent errors are worth investigating.
Does a missing C-wire cause wrong readings?
It can. Weak or unstable power may cause erratic behavior, restarts, and sometimes inaccurate readings. Adding a C-wire or an adapter kit often makes the device more stable.
Will a factory reset fix the wrong temperature?
It may fix software-related issues, but it will not solve problems caused by sunlight, drafts, or a defective sensor.
How often should I check my thermostat accuracy?
A quick comparison at the start of every heating and cooling season is usually enough.
Final Thoughts
A smart thermostat temperature reading that is wrong is frustrating, but it is rarely a sign that the device is ruined. Start by confirming the error with a reference thermometer, then work through placement, cleaning, power, software, and calibration in that order. Most households solve the problem within an hour using only basic tools. If the error remains after those steps, a professional inspection or a replacement with a model that offers remote sensors and easy calibration will restore comfort and help you save energy.