





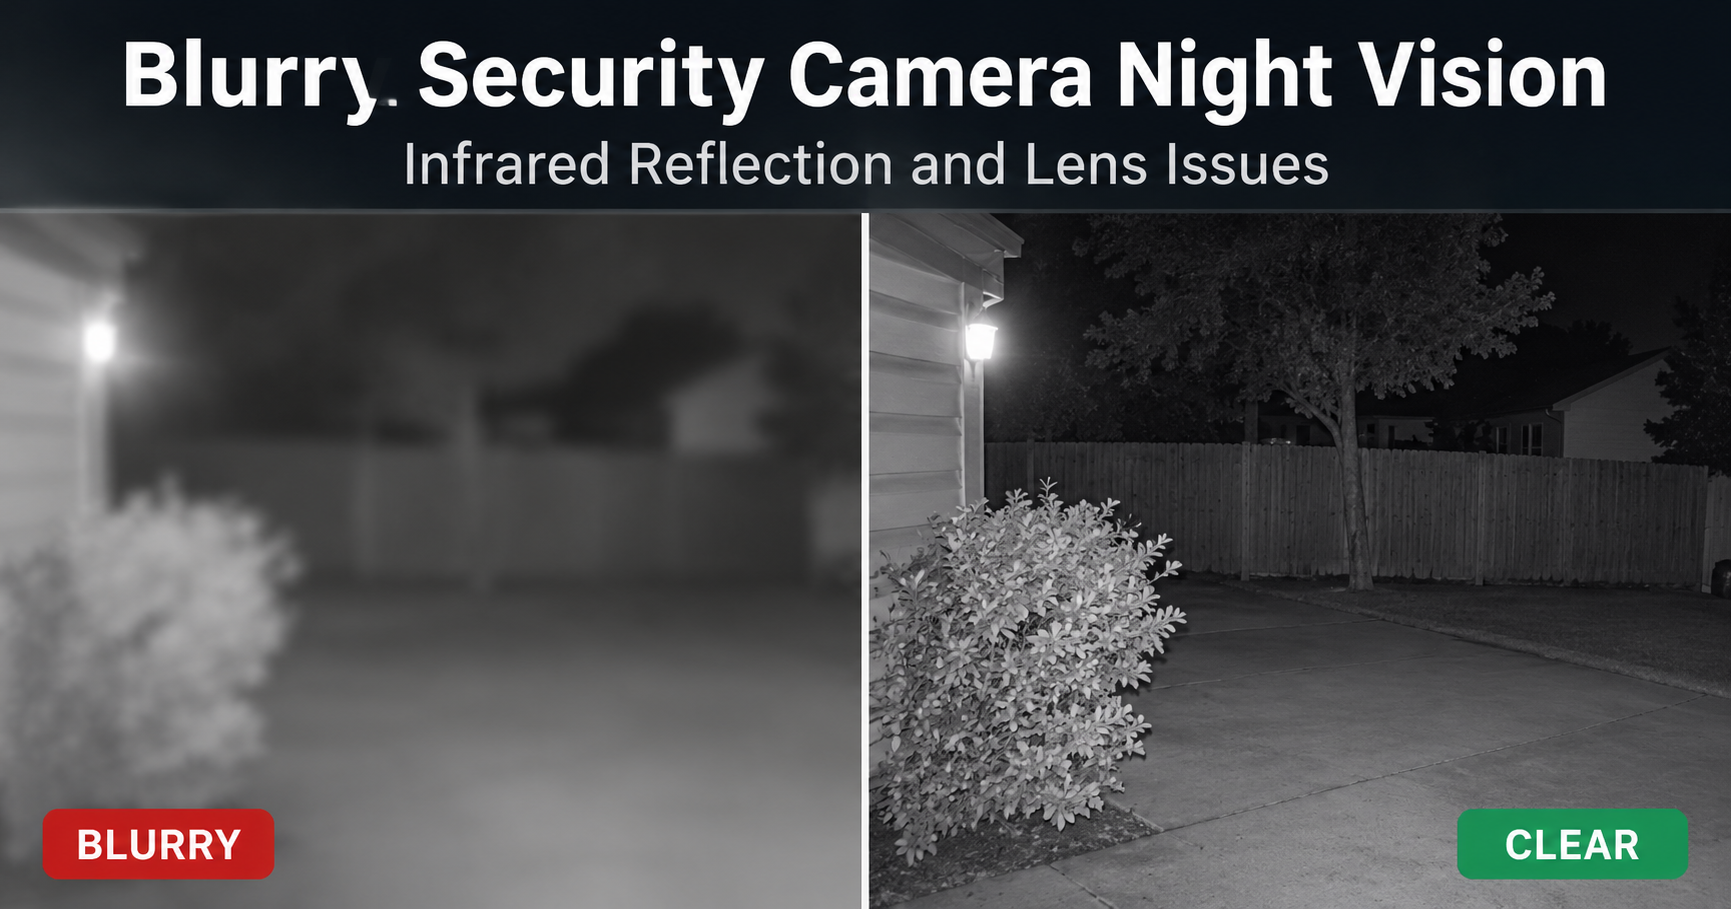
You check last night’s footage and find a milky, washed-out smear where a face or license plate should be. A security camera night vision blurry image is one of the most common complaints among homeowners, and it defeats the whole point of having a camera. The good news: in most cases the problem is fixable in minutes, without buying anything new.
This guide explains how night vision works, why the picture goes soft, the exact steps to fix it, and what to look for if it is time to upgrade.
How Security Camera Night Vision Works
Most cameras use small infrared (IR) LEDs around the lens. When light drops, an internal IR-cut filter slides away and the camera records in black and white using light you cannot see. Newer models use starlight sensors that amplify tiny amounts of ambient light, or built-in white spotlights that switch to full color. Every one of these systems can go blurry for specific, identifiable reasons.
Top Causes of Blurry Night Vision
1. Dirty lens or dome
Dust, fingerprints, water spots and pollen scatter IR light and create haze. At night this is far worse than in daylight because the IR LEDs light up every speck.
2. IR glare from a nearby surface
If the camera sits close to a wall, soffit, gutter or pillar, its own infrared bounces straight back into the lens. The image turns bright white in the center and everything beyond looks fuzzy.
3. Spider webs and insects
Webs reflect IR brilliantly, and insects drawn to the glowing LEDs create blobs and streaks. This is the classic reason a camera looks fine by day and terrible at night.
4. Shooting through glass
Placing a camera behind a window sends IR light bouncing off the pane. Turn off the IR LEDs or mount the camera outside, or use a camera designed for indoor window use.
5. Focus drift
Fixed-focus and varifocal lenses can shift slightly after temperature changes or installation. IR light also focuses at a slightly different point than visible light, so a lens tuned only in daylight may be soft at night.
6. Fog, rain, snow and humidity
Water droplets in the air scatter IR light. Moisture can also condense inside a poorly sealed housing, fogging the lens from within.
7. Low bitrate or compression
Night footage contains grain and noise, which is hard to compress. If bitrate is set too low, the encoder smooths everything into a blur.
8. Poor exposure settings
A slow shutter speed lets the camera collect more light but blurs anything that moves. Aggressive digital gain brightens the picture but adds noise and softness.
9. Weak signal or low power
A weak Wi-Fi link forces the stream to drop quality. An underpowered adapter or long cable run can make IR LEDs dim, leaving a dark, soft image.
Step-by-Step: How to Fix It
- Clean the lens. Use a microfiber cloth and a little lens cleaner. Avoid paper towels, which can scratch.
- Clear webs and bugs. Brush away webs, then wipe the housing. A light coat of anti-insect spray on the mount (not the lens) can keep spiders away.
- Reposition the camera. Keep at least a meter of open space in front of it, and move it away from eaves, walls and reflective surfaces. Angle it slightly downward.
- Refocus. On adjustable lenses, loosen the focus ring and fine-tune it at night while viewing the live feed.
- Check IR settings. Set IR mode to Auto, and lower IR intensity if the center looks blown out.
- Tune exposure. Enable WDR or HLC if there are bright lights in view, set shutter to around 1/30 or faster for moving subjects, and reduce digital noise reduction if the image looks smeared.
- Raise resolution and bitrate. Use the highest resolution your recorder supports and increase bitrate until night footage looks crisp.
- Update firmware. Manufacturers often improve night image processing through updates.
- Improve power and network. Use the supplied adapter, shorten cable runs, and move the router or add a mesh node if the signal is weak.
When Blurry Night Vision Means It Is Time to Upgrade
If you have cleaned, repositioned and tuned the camera and the image is still poor, the hardware may simply be limited. Older cameras with small sensors and slow lenses cannot collect enough light. Look for these features when choosing a replacement:
- Starlight or low-light sensor: a larger sensor and wide aperture lens (f/1.6 or lower) capture far more light.
- Color night vision: a built-in warm spotlight gives detail such as clothing color and vehicle paint.
- Smart IR: automatically adjusts LED power to prevent glare.
- Higher resolution (4MP or above): more detail for zooming into footage.
- Weather rating (IP66 or higher): protects against moisture and fogging.
- Separated IR LEDs and lens: reduces internal reflections.
Night Vision Types Compared
| Type | Image | Best for |
|---|---|---|
| Infrared (IR) | Black and white | Discreet, total darkness |
| Starlight | Low-light color or sharp mono | Streets, dim yards |
| Color with spotlight | Full color | Driveways, entrances |
| Thermal | Heat map | Large perimeters |
Maintenance Tips to Prevent Future Blur
- Wipe the lens every month, and after storms.
- Check for webs and nests each season.
- Look for condensation inside the dome after temperature swings.
- Review a night clip every few weeks to catch problems early.
- Keep nearby bright lights from shining directly into the lens.
Frequently Asked Questions
Why is my security camera clear in the day but blurry at night?
Night mode removes the IR-cut filter and relies on IR LEDs. Dirt, webs, glare and focus shift that go unnoticed in daylight become obvious under IR.
Should I turn off the IR lights?
Only if the camera is behind glass or you have good external lighting. Otherwise, keep IR on Auto and reduce its intensity if it overexposes close objects.
Does a higher resolution fix blur?
Not by itself. A bigger sensor, better lens and proper exposure matter more than megapixels in the dark.
How far should night vision reach?
Many cameras advertise 30 meters or more, but usable detail is often shorter. Treat the rated distance as a maximum, not a guarantee.
Can a spotlight help?
Yes. Adding gentle external lighting lets the camera use more light and often switch to color mode with much sharper detail.
Final Thoughts
A blurry night vision image is rarely a sign of a broken camera. Start with the simple fixes: clean the lens, clear webs, move the camera away from reflective surfaces and tune the settings. If the picture is still poor, a starlight or color night vision camera will deliver a significant jump in quality. Fix it once, check it regularly, and your camera will give you clear evidence when you need it.