



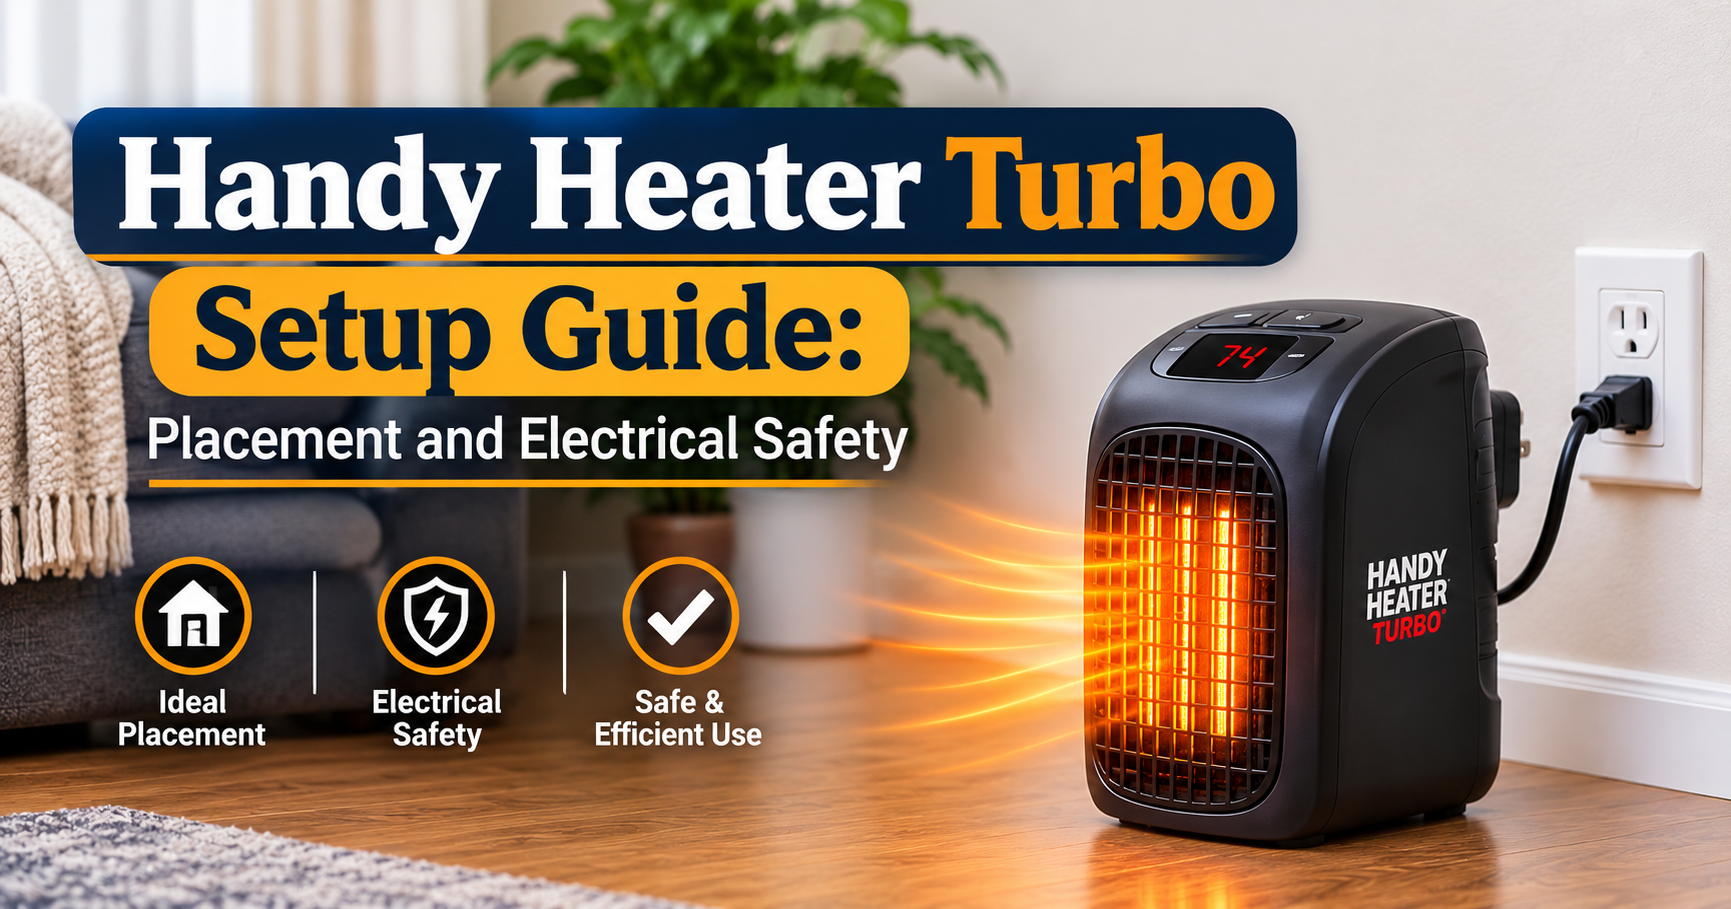
Cold mornings and chilly evenings make a small, portable room heater very tempting. The Handy Heater Turbo is one of the compact plug-in style heaters that many buyers look at because it is small, light and promises quick warmth for a single room. The good news is that the setup is simple. The important part is doing it safely and in the right spot.
In this guide you will learn what the Handy Heater Turbo is, what to check before you start, how to install it step by step, where to place it, how to use it, how to maintain it, and how to fix common problems.
What Is the Handy Heater Turbo?
The Handy Heater Turbo is a compact electric room heater. Products in this category usually work with a heating element (often ceramic) and a small fan that pushes warm air into the room. It is designed for personal or small-room use, such as a bedroom, study desk, bathroom entrance or small office.
Because it is a plug-in appliance, there is no wiring, drilling or professional installation needed. “Installation” mainly means unboxing, inspecting, choosing a safe power outlet and positioning the heater correctly.
What You Usually Get in the Box
- Handy Heater Turbo main unit
- Built-in power plug (or a power cord)
- User manual or quick-start sheet
- Warranty or support card (depends on seller)
Before You Install: Safety Checklist
Spend two minutes on these checks. They prevent most heater problems.
- Inspect the unit. Look for cracks, loose parts, a bent plug or a damaged cord.
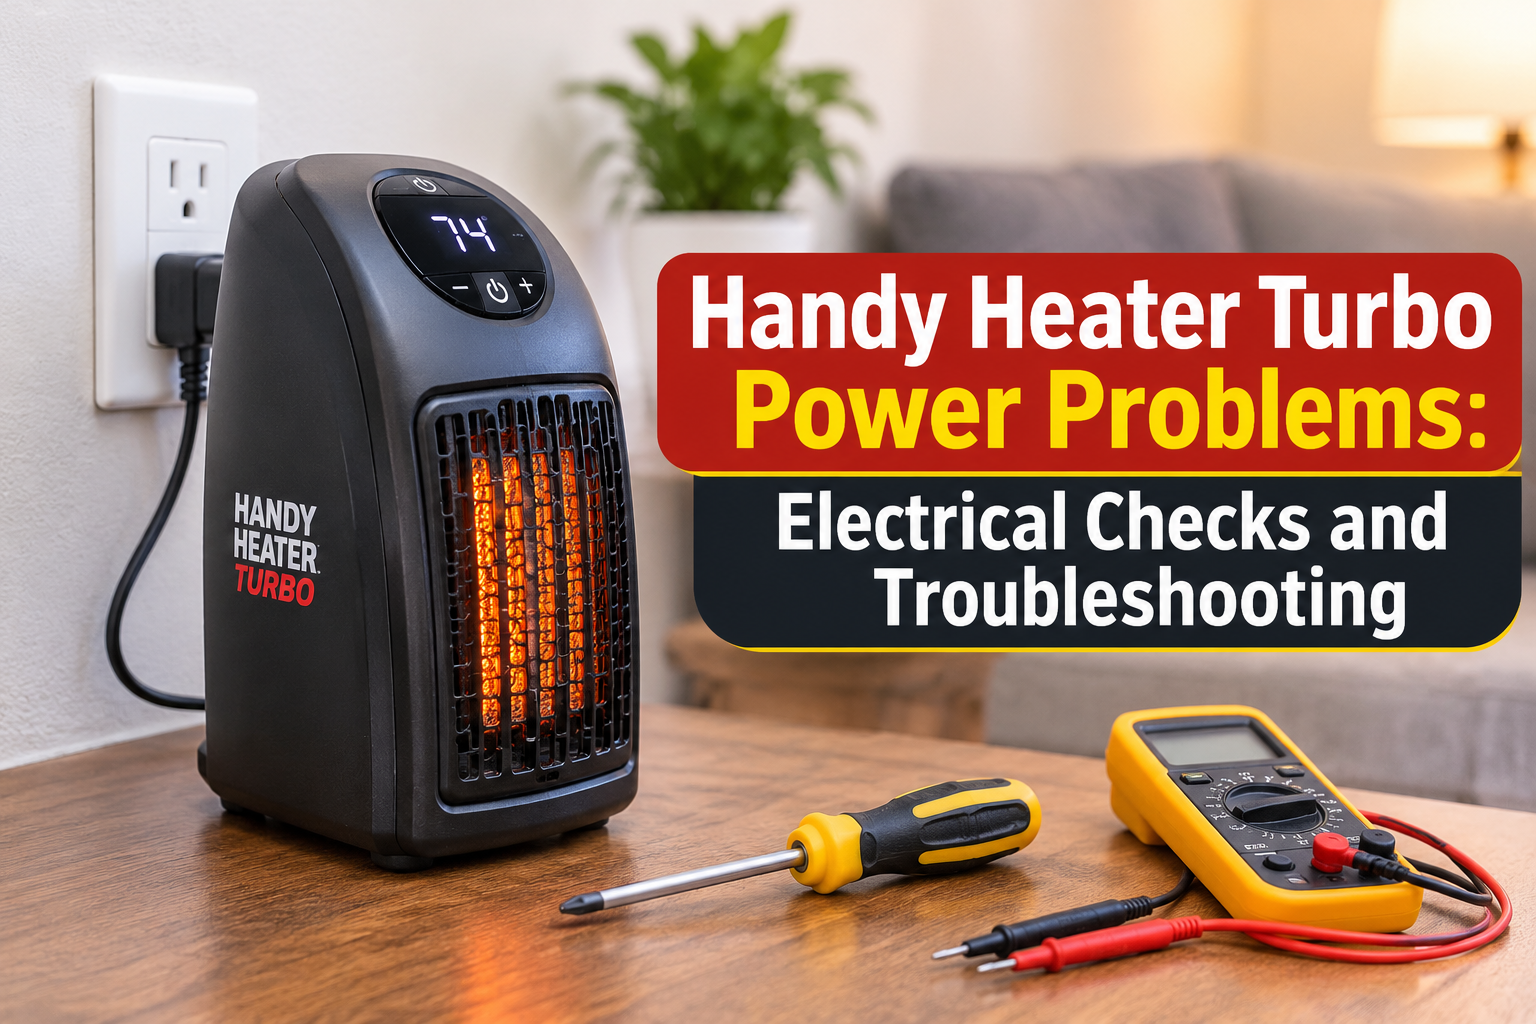
- Read the rating label. Note the voltage and wattage. Make sure it matches your home supply.
- Check your wall socket. It should be firm, clean, not loose, and not scorched or discoloured.
- Clear the area. Keep curtains, bedding, paper and sofas well away from the heater.
- Keep hands dry and never install it in a wet area.
Handy Heater Turbo Installation: Step by Step
Step 1: Unbox and Inspect
Remove all packaging, including plastic film and protective foam. Check that the grill, body and plug are intact. If anything looks damaged, do not use it. Contact the seller.
Step 2: Choose the Right Wall Outlet
Pick a wall socket that is in good condition and close to where you want the heater. Avoid sockets near water, such as a bathroom basin. Prefer a socket you can see, so you can unplug the heater easily.
Step 3: Plug In and Position the Heater
Insert the plug fully into the outlet. Many compact heaters in this style plug directly into the wall, so make sure the unit sits straight and snug, not hanging at an angle. If it has a cord, place the heater on a flat, hard, stable surface.
Step 4: Switch On and Test
Turn the heater on using its switch or control. Run it for a few minutes and check three things: warm air is coming out, the fan sounds normal, and the plug and socket are not getting unusually hot. A slight “new product” smell for the first few minutes can happen as the element warms up. If the smell is strong or burning-like, switch it off and unplug it.
Where to Place Your Heater (Best Positions)
- Keep about 1 metre (3 feet) of free space around the front and sides.
- Bedroom: place it away from the bed and bedding. Turn it off before sleeping unless the manual says otherwise.
- Study or office: position it so warm air reaches your legs or desk, not paper stacks.
- Small rooms work best. Compact heaters warm a small area well but are not meant for large halls.
How to Use It for Best Results
- Close doors and windows so heat stays in.
- Use the lower setting once the room is comfortable. It saves electricity.
- Do not cover the heater or dry clothes on it.
- Switch it off and unplug it when you leave the room.
Cleaning and Maintenance
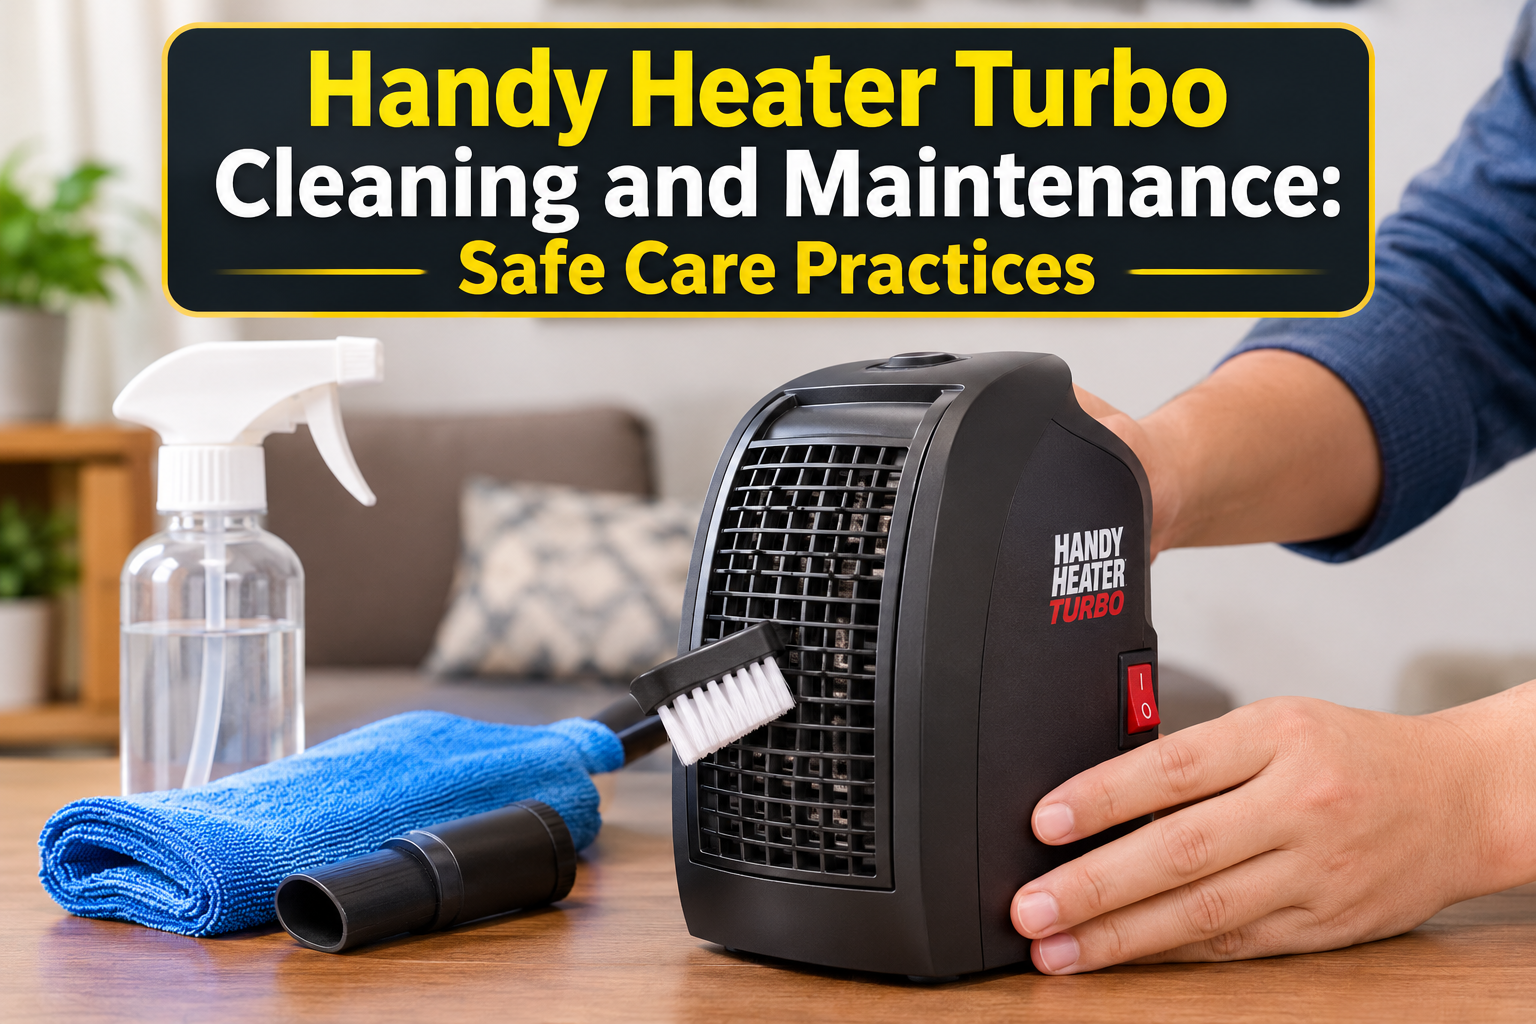
- Unplug and let the heater cool completely.
- Wipe the body with a dry or slightly damp soft cloth. Never spray water on it.
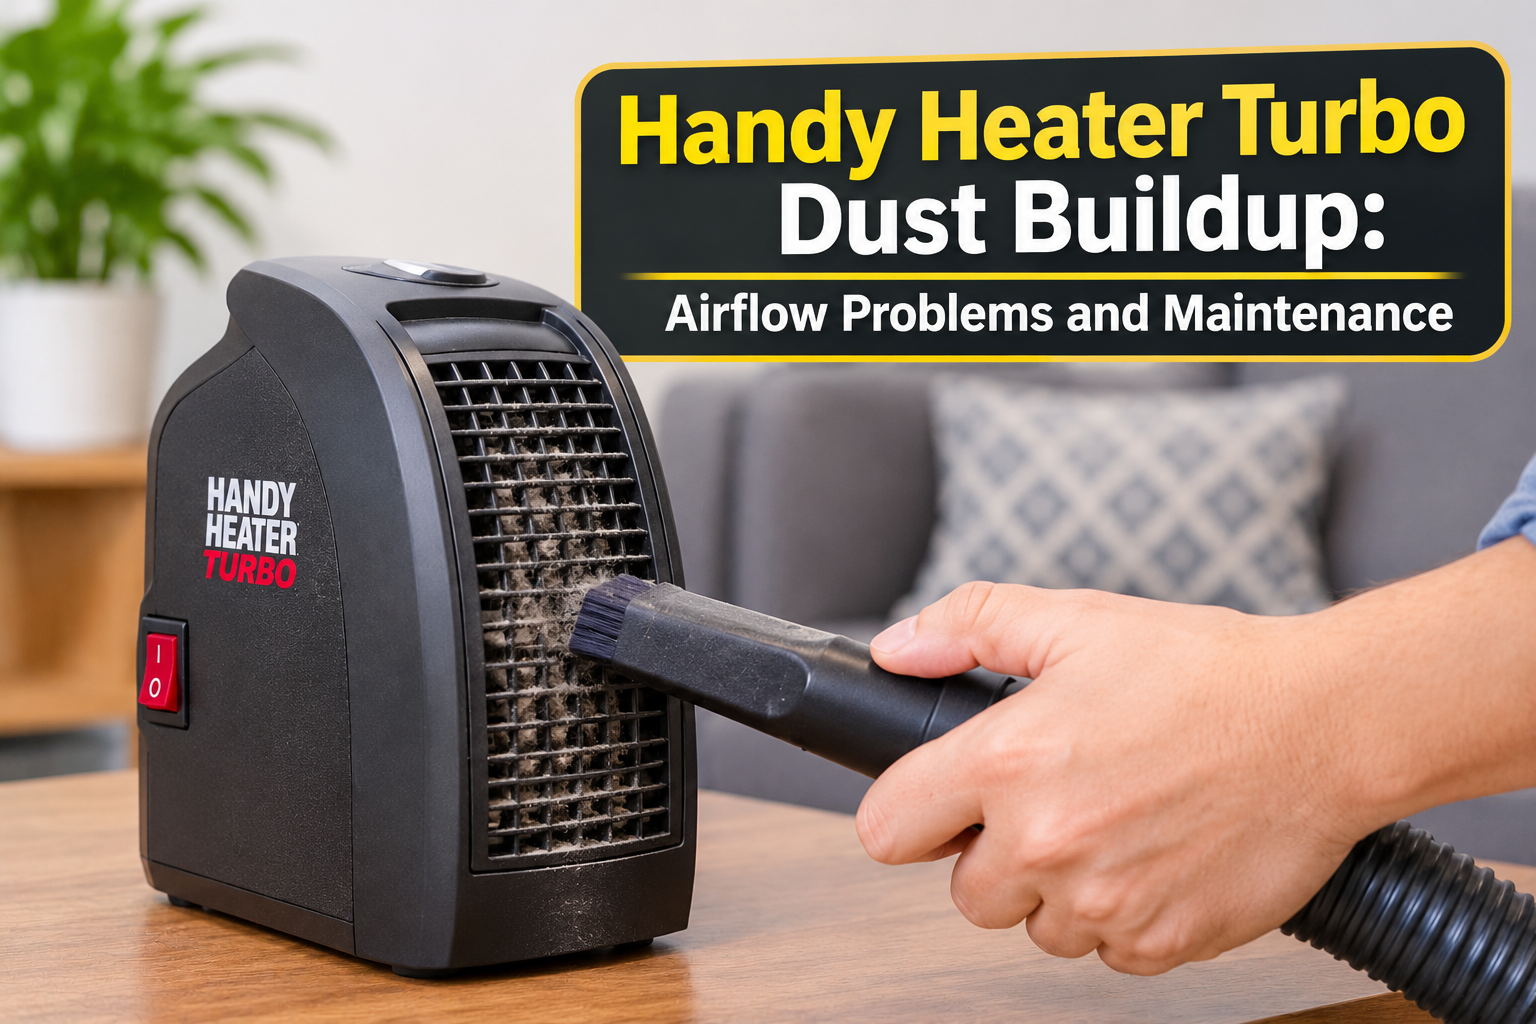
- Use a soft brush or a vacuum on low suction to clear dust from the grill.
- Make sure it is fully dry before plugging it in again.
- Store it in its box in a dry place after the winter season.
Troubleshooting Common Problems
| Problem | Possible Cause | What to Do |
|---|---|---|
| Does not turn on | Loose plug or dead socket | Re-seat the plug and test the socket with another device. |
| Not warm enough | Room too big or doors open | Close doors, move the heater closer, or use it in a smaller room. |
| Strange noise | Dust in the fan or loose part | Unplug the heater, clean the grille according to the manual, and check its placement. |
| Burning smell | Dust burning off or a fault | Unplug immediately. If the smell continues or returns, stop using the heater and contact the seller or manufacturer. |
| Plug feels very hot | Worn socket or poor electrical contact | Stop using the heater and have the outlet checked by a qualified electrician. |
Pros and Cons
| ✓ Pros | ✕ Cons |
|---|---|
|
✓ Compact and easy to carry
✓ No complicated installation
✓ Good for small rooms and personal warmth
✓ Quick to set up
|
✕ Not suitable for large spaces
✕ Needs a good-quality wall socket
✕ Must never be left unattended
✕ Performance depends on room size and power rating
|
Frequently Asked Questions
Do I need an electrician to install the Handy Heater Turbo?
No. It is a plug-in device. You only need a safe, working wall socket. If the socket is loose or damaged, get it repaired first.
Can I use it with an extension board?
It is best to plug it straight into the wall. Heaters draw a lot of power, and extension boards can overheat.
Can I leave it on overnight?
Safety experts generally advise against leaving any heater running unattended or while you sleep. Check your manual and use any timer or auto-off feature if available.
Can I use it in the bathroom?
Only if the manual says it is rated for damp areas. Otherwise keep it away from water and wet floors.
How big a room can it heat?
Compact heaters are meant for small rooms or personal spaces. Check the wattage on the label and match it to your room size.
How long does installation take?
Usually under five minutes, including inspection and a short test run.
Final Thoughts
The Handy Heater Turbo installation is quick: unbox, inspect, choose a safe socket, place it in a clear spot and test it. The real key is safety: clear space around it, no extension cords, regular cleaning and never leaving it running unattended. Before buying, compare the seller’s specifications, warranty and return policy so you get a unit that suits your room.
Disclaimer: This article is for general guidance only. Always follow the manufacturer’s manual and local electrical safety rules.